
Outdoor Camera Mounting Heights: Where to Install for Best Coverage
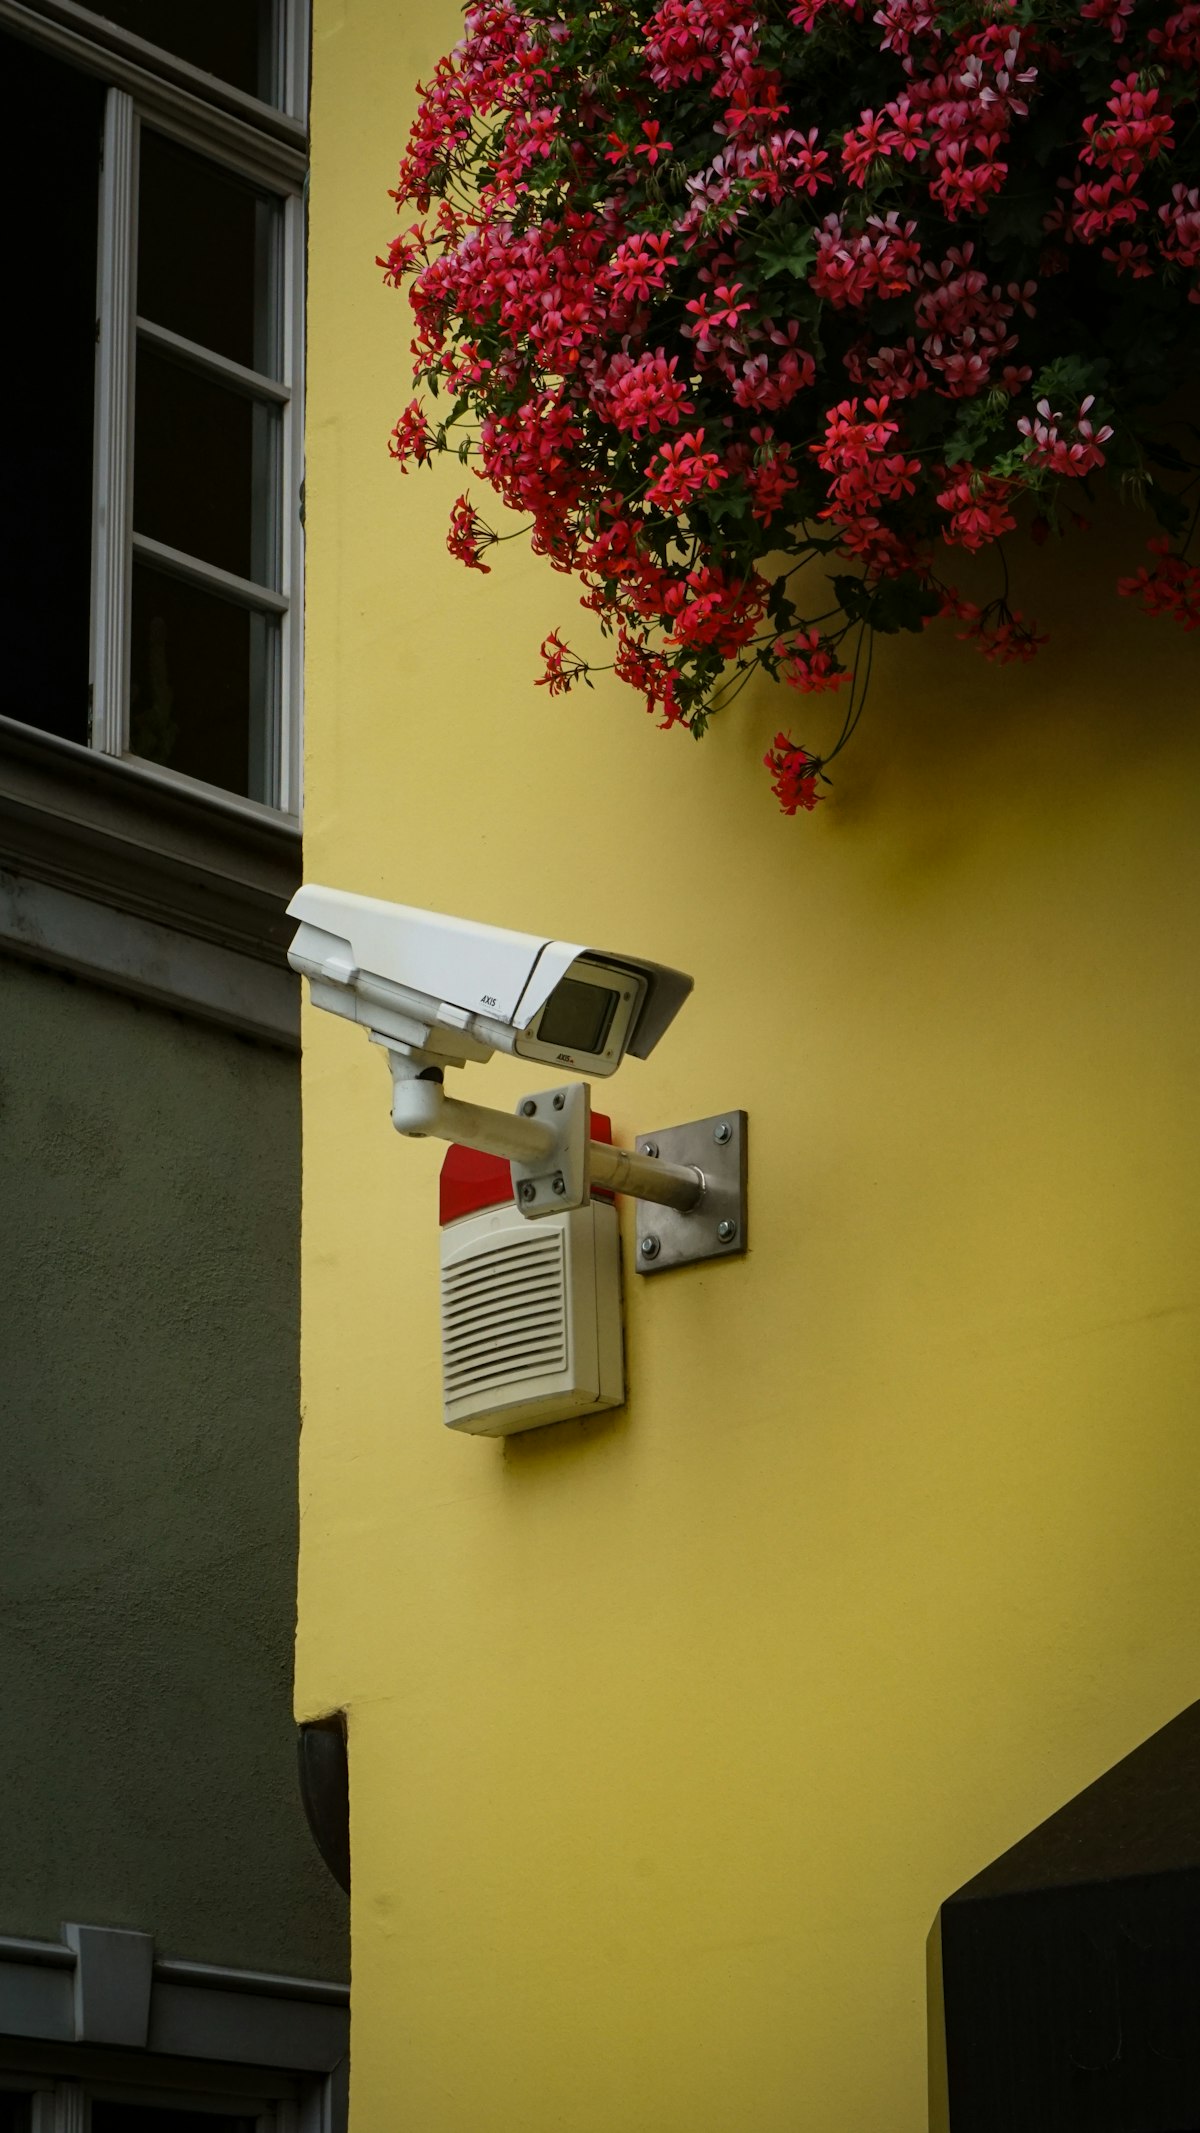
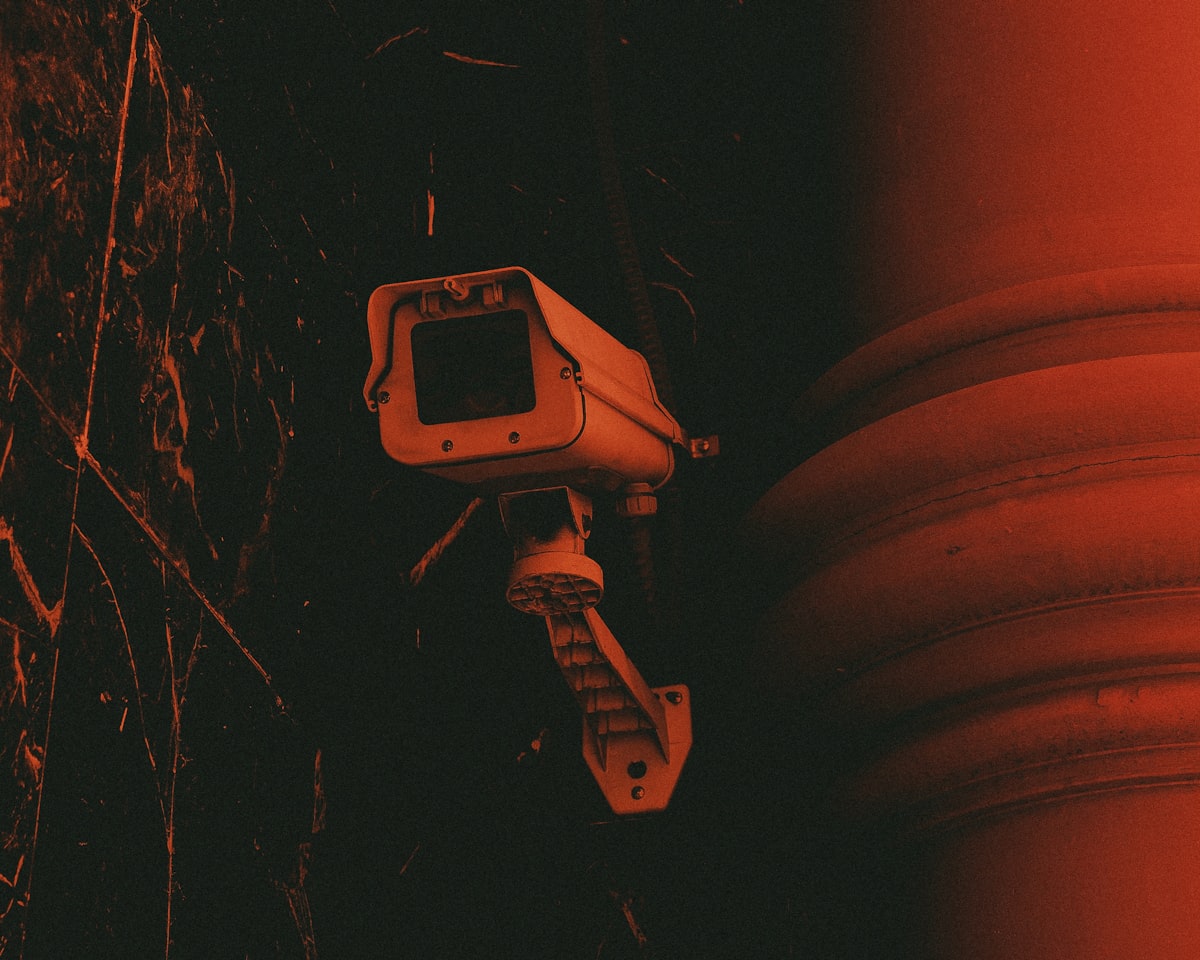
Securing your home effectively starts with smart placement, and when it comes to outdoor security cameras, arguably the most critical aspect is their mounting height. A camera mounted too low becomes an easy target for tampering or vandalism, offering little more than a close-up of a perpetrator’s face – not ideal for identification. Conversely, a camera mounted too high might capture the entire street, but the subjects within your direct area of concern could appear too small for useful detail. Achieving the perfect outdoor camera mounting height is a delicate balance of security, coverage, and detail. This comprehensive guide will walk you through the optimal strategies to ensure your outdoor security cameras provide the best possible protection for your property.
Understanding the interplay between camera height, its field of view, and the specific areas you want to monitor is key. This isn’t a one-size-fits-all solution; factors like the type of camera, the layout of your property, local regulations, and potential obstructions all play a significant role. Let’s dive deep into finding the best height security camera outdoor placement for your specific needs.
The Golden Rules of Outdoor Camera Placement
Before we delve into specific heights, let’s establish some foundational principles that will guide your installation process:
1. Aim for Deterrence and Identification
Your cameras should serve two primary purposes: deterring potential intruders and providing clear, identifiable footage if an incident occurs. A visible camera can often be enough to make a would-be burglar think twice. For identification, you need a clear view of faces and distinguishing characteristics.
2. Consider Your Field of View (FoV)
Each camera has a specific horizontal and vertical field of view. A wider FoV covers more ground but reduces detail at a distance. A narrower FoV offers more detail but covers less area. Your mounting height directly impacts how effectively you can utilize this FoV.
3. Account for Obstructions
Trees, bushes, fences, and even decorative elements can block your camera’s view. Always survey the area carefully, both during the day and at night, to identify potential obstructions. Consider how these might change with seasons (e.g., leaves on trees).
4. Prevent Tampering and Vandalism
A camera within easy reach is a vulnerable camera. Mounting it high enough to be inaccessible without a ladder is crucial for its longevity and operational integrity.
5. Power and Connectivity
While this guide focuses on height, don’t forget the practicalities. Ensure your chosen spot allows for easy access to power (if wired) and a strong Wi-Fi signal (if wireless). For long-range solutions like the ShowMo MileFlask, Wi-Fi HaLow technology significantly extends this range, offering more flexibility in placement.
Determining Optimal Mounting Heights for Different Zones
The “best” height often varies depending on the specific area you’re trying to cover. Here’s a breakdown by common property zones:
Entry Points (Front Door, Back Door, Garage Doors)
- Ideal Height: 8-10 feet (2.4-3 meters)
- Why: This height range is perfect for capturing clear facial recognition of anyone approaching or leaving your entry points. It’s high enough to be difficult to tamper with but low enough to avoid distorted facial features that come with extreme angles. This also provides excellent coverage of packages left on porches.
- Key Consideration for Camera Placement Outdoor Coverage: Ensure the camera is angled slightly downwards to capture both the person’s face and their general body shape, while also monitoring ground-level activity.
Perimeter Surveillance (Side Yards, Fences, Driveways)
- Ideal Height: 10-14 feet (3-4.3 meters)
- Why: For broader areas like driveways, side yards, or fence lines, a higher mount provides a wider perspective, allowing you to monitor more ground with a single camera. This height also makes the camera less accessible to casual tampering.
- Key Consideration for Camera Placement Outdoor Coverage: Angle the camera to cover the entire length of the perimeter you wish to protect. Be mindful of potential blind spots, especially around corners or tall landscaping.
Open Areas & Large Yards
- Ideal Height: 12-20 feet (3.7-6 meters)
- Why: If you have a large property or a sprawling backyard that you want to monitor, going higher maximizes your camera’s field of view. This height is often necessary to see over existing structures or natural elements.
- Key Consideration for Camera Placement Outdoor Coverage: While a higher vantage point offers broad coverage, remember that objects and people will appear smaller. For critical detail, you might need a camera with optical zoom capabilities or multiple cameras for overlapping coverage. Consider a robust wireless solution like the ShowMo MileFlask for these expansive areas, as its 1-mile range eliminates Wi-Fi dead zones.
Special Scenarios: Low-Visibility Areas or Specific Objects
- Varies: 6-10 feet (1.8-3 meters)
- Why: Sometimes you need to monitor a very specific, small area, like a detached shed door, a valuable outdoor item, or a children’s play area. In these cases, a slightly lower mount might be acceptable if the camera is tucked away or protected.
- Key Consideration for Camera Placement Outdoor Coverage: Prioritize close-up detail for the specific item or area. Ensure the camera is still difficult to reach or is within line of sight of another higher-mounted camera for overall security.
Comparison Table: Optimal Mounting Heights & Scenarios
This table summarizes common outdoor areas and their recommended camera mounting heights, along with the primary benefit and potential drawback of each:
| Area to Cover | Recommended Height Range | Primary Benefit | Key Consideration |
|---|---|---|---|
| Front Door / Entryway | 8-10 feet (2.4-3 m) | Clear facial recognition, package monitoring | Angle downwards sufficiently |
| Garage Door / Access Points | 8-10 feet (2.4-3 m) | Discourages tampering, captures vehicle details | Ensure unobstructed view of door & driveway |
| Driveway / Side Yard | 10-14 feet (3-4.3 m) | Broad coverage, difficult to reach | Minimize blind spots around fences/bushes |
| Backyard / Large Open Areas | 12-20 feet (3.7-6 m) | Maximized field of view for wide spaces | Objects appear smaller, consider optical zoom |
| Specific Asset (e.g., shed door) | 6-10 feet (1.8-3 m) | High detail for designated target | Needs to be out of reach or well-protected |
Product Spotlight: ShowMo MileFlask – Long-Range Security, Anywhere You Need It
When selecting your outdoor security camera, the issue of Wi-Fi range can often dictate where you can and cannot mount your device. This is where the ShowMo MileFlask truly stands out. Leveraging revolutionary Wi-Fi HaLow (802.11ah) technology, the MileFlask offers an incredible 1-mile wireless range – a game-changer for large properties, detached garages, barns, or any remote area where traditional Wi-Fi struggles to reach. This extended range means you’re no longer limited by your router’s signal strength, giving you unprecedented freedom in choosing the optimal outdoor camera mounting height for maximum coverage.
Beyond its impressive range, the ShowMo MileFlask delivers high-definition video without monthly fees, allowing you to record and store footage directly, saving you money in the long run. Its robust design is built for the outdoors, ensuring reliable performance in various weather conditions. If you’re looking for a security solution that offers unparalleled flexibility in placement and a robust feature set without ongoing costs, the MileFlask is an excellent choice for achieving superior camera placement outdoor coverage.
Advanced Tips for Optimized Outdoor Camera Mounting Height
Test Before You Install Permanently
Before drilling holes, temporarily hold the camera at your desired height using tape or a helper. Use your camera’s live view feature on your smartphone to check the exact field of view. Walk around the monitored area to ensure you can clearly identify faces and important details from various angles. This step is critical for validating your chosen best height security camera outdoor.
Consider the Sun’s Path
Avoid direct sunlight exposure into the lens, especially during sunrise and sunset, as this can cause glare and washed-out footage. Position the camera where the sun will be behind it for most of the day, or opt for cameras with Wide Dynamic Range (WDR) technology to compensate for varying light conditions. The ShowMo MileFlask, for instance, includes features to handle challenging lighting.
Night Vision Assessment
After sunset, re-check your camera’s view with its night vision enabled. Are there any dark spots? Is the infrared (IR) beam adequately illuminating the entire area? Sometimes, a slightly different angle or height can significantly improve night vision performance.
Local Regulations and Privacy
Always be mindful of local laws regarding surveillance and privacy. Ensure your cameras are primarily focused on your property and do not infringe on neighbors’ privacy or public spaces unless legally justified and clearly posted.
FAQ: Your Outdoor Camera Mounting Height Questions Answered
Q1: Is there a maximum recommended height for outdoor security cameras?
While there’s no strict “maximum” height, practicality and effectiveness come into play. Above 20 feet (6 meters), subjects can become too small for clear identification, even with good quality cameras, unless you have powerful optical zoom. The higher you go, the more the camera acts as a broad overview rather than a detailed identifier. Always balance broad coverage with the need for detail.
Q2: Can I mount my outdoor camera too low? What are the risks?
Yes, mounting a camera too low (e.g., below 6-7 feet) presents several risks. It makes the camera easily accessible to tampering, vandalism, or theft. Additionally, it can limit the field of view, creating blind spots, and might only provide a view of the top of an intruder’s head, making identification difficult.
Q3: How does my camera’s lens type affect the ideal mounting height?
The lens type significantly impacts your optimal height. Wider-angle lenses (e.g., 100-120+ degrees FoV) cover more area from a lower height but reduce detail. Narrower-angle lenses (e.g., 60-80 degrees FoV) provide more detail over a longer distance but cover less area, often benefiting from being mounted higher to broaden their perspective slightly. For instance, with a wide-angle lens, you might lean towards the lower end of the recommended height range (e.g., 8 feet for an entryway), while a narrower lens might benefit from the higher end (e.g., 10 feet).
Conclusion: The Right Height for Ultimate Home Security
Choosing the correct outdoor camera mounting height is a critical step in establishing an effective home security system. It’s about more than just avoiding vandalism; it’s about maximizing your camera’s potential for clear identification, broad coverage, and proactive deterrence. By carefully considering the specific areas you wish to monitor, understanding the capabilities of your camera (like the extended range of the ShowMo MileFlask), and following the guidelines outlined in this article, you can ensure your property is protected with optimal camera placement outdoor coverage. Take the time to plan, test, and adjust – your home’s security is worth it.