How to Set Up a Security Camera in an Apartment: Step-by-Step 2026
Living in an apartment offers convenience and community, but it also comes with unique security challenges. As a renter, you often face restrictions on drilling, permanent modifications, and extensive wiring. Yet, the desire to protect your home and loved ones remains paramount. Fortunately, advancements in home security technology have made it easier than ever to set up effective surveillance without compromising your lease agreement. In this comprehensive guide, we’ll walk you through the process of setting up a security camera in your apartment, with a special focus on renter-friendly solutions for 2026.
Whether you’re concerned about package theft, monitoring a pet, or simply want peace of mind, choosing and installing the right camera system can make a significant difference. We’ll cover everything from selecting the best camera type to optimizing its placement and ensuring your privacy. Let’s make your apartment a safer sanctuary!
Understanding Renter-Friendly Security Camera Options
Before diving into the setup, it’s crucial to understand the types of security cameras best suited for apartment dwellers. Your main considerations will be ease of installation, portability, and avoiding permanent alterations.
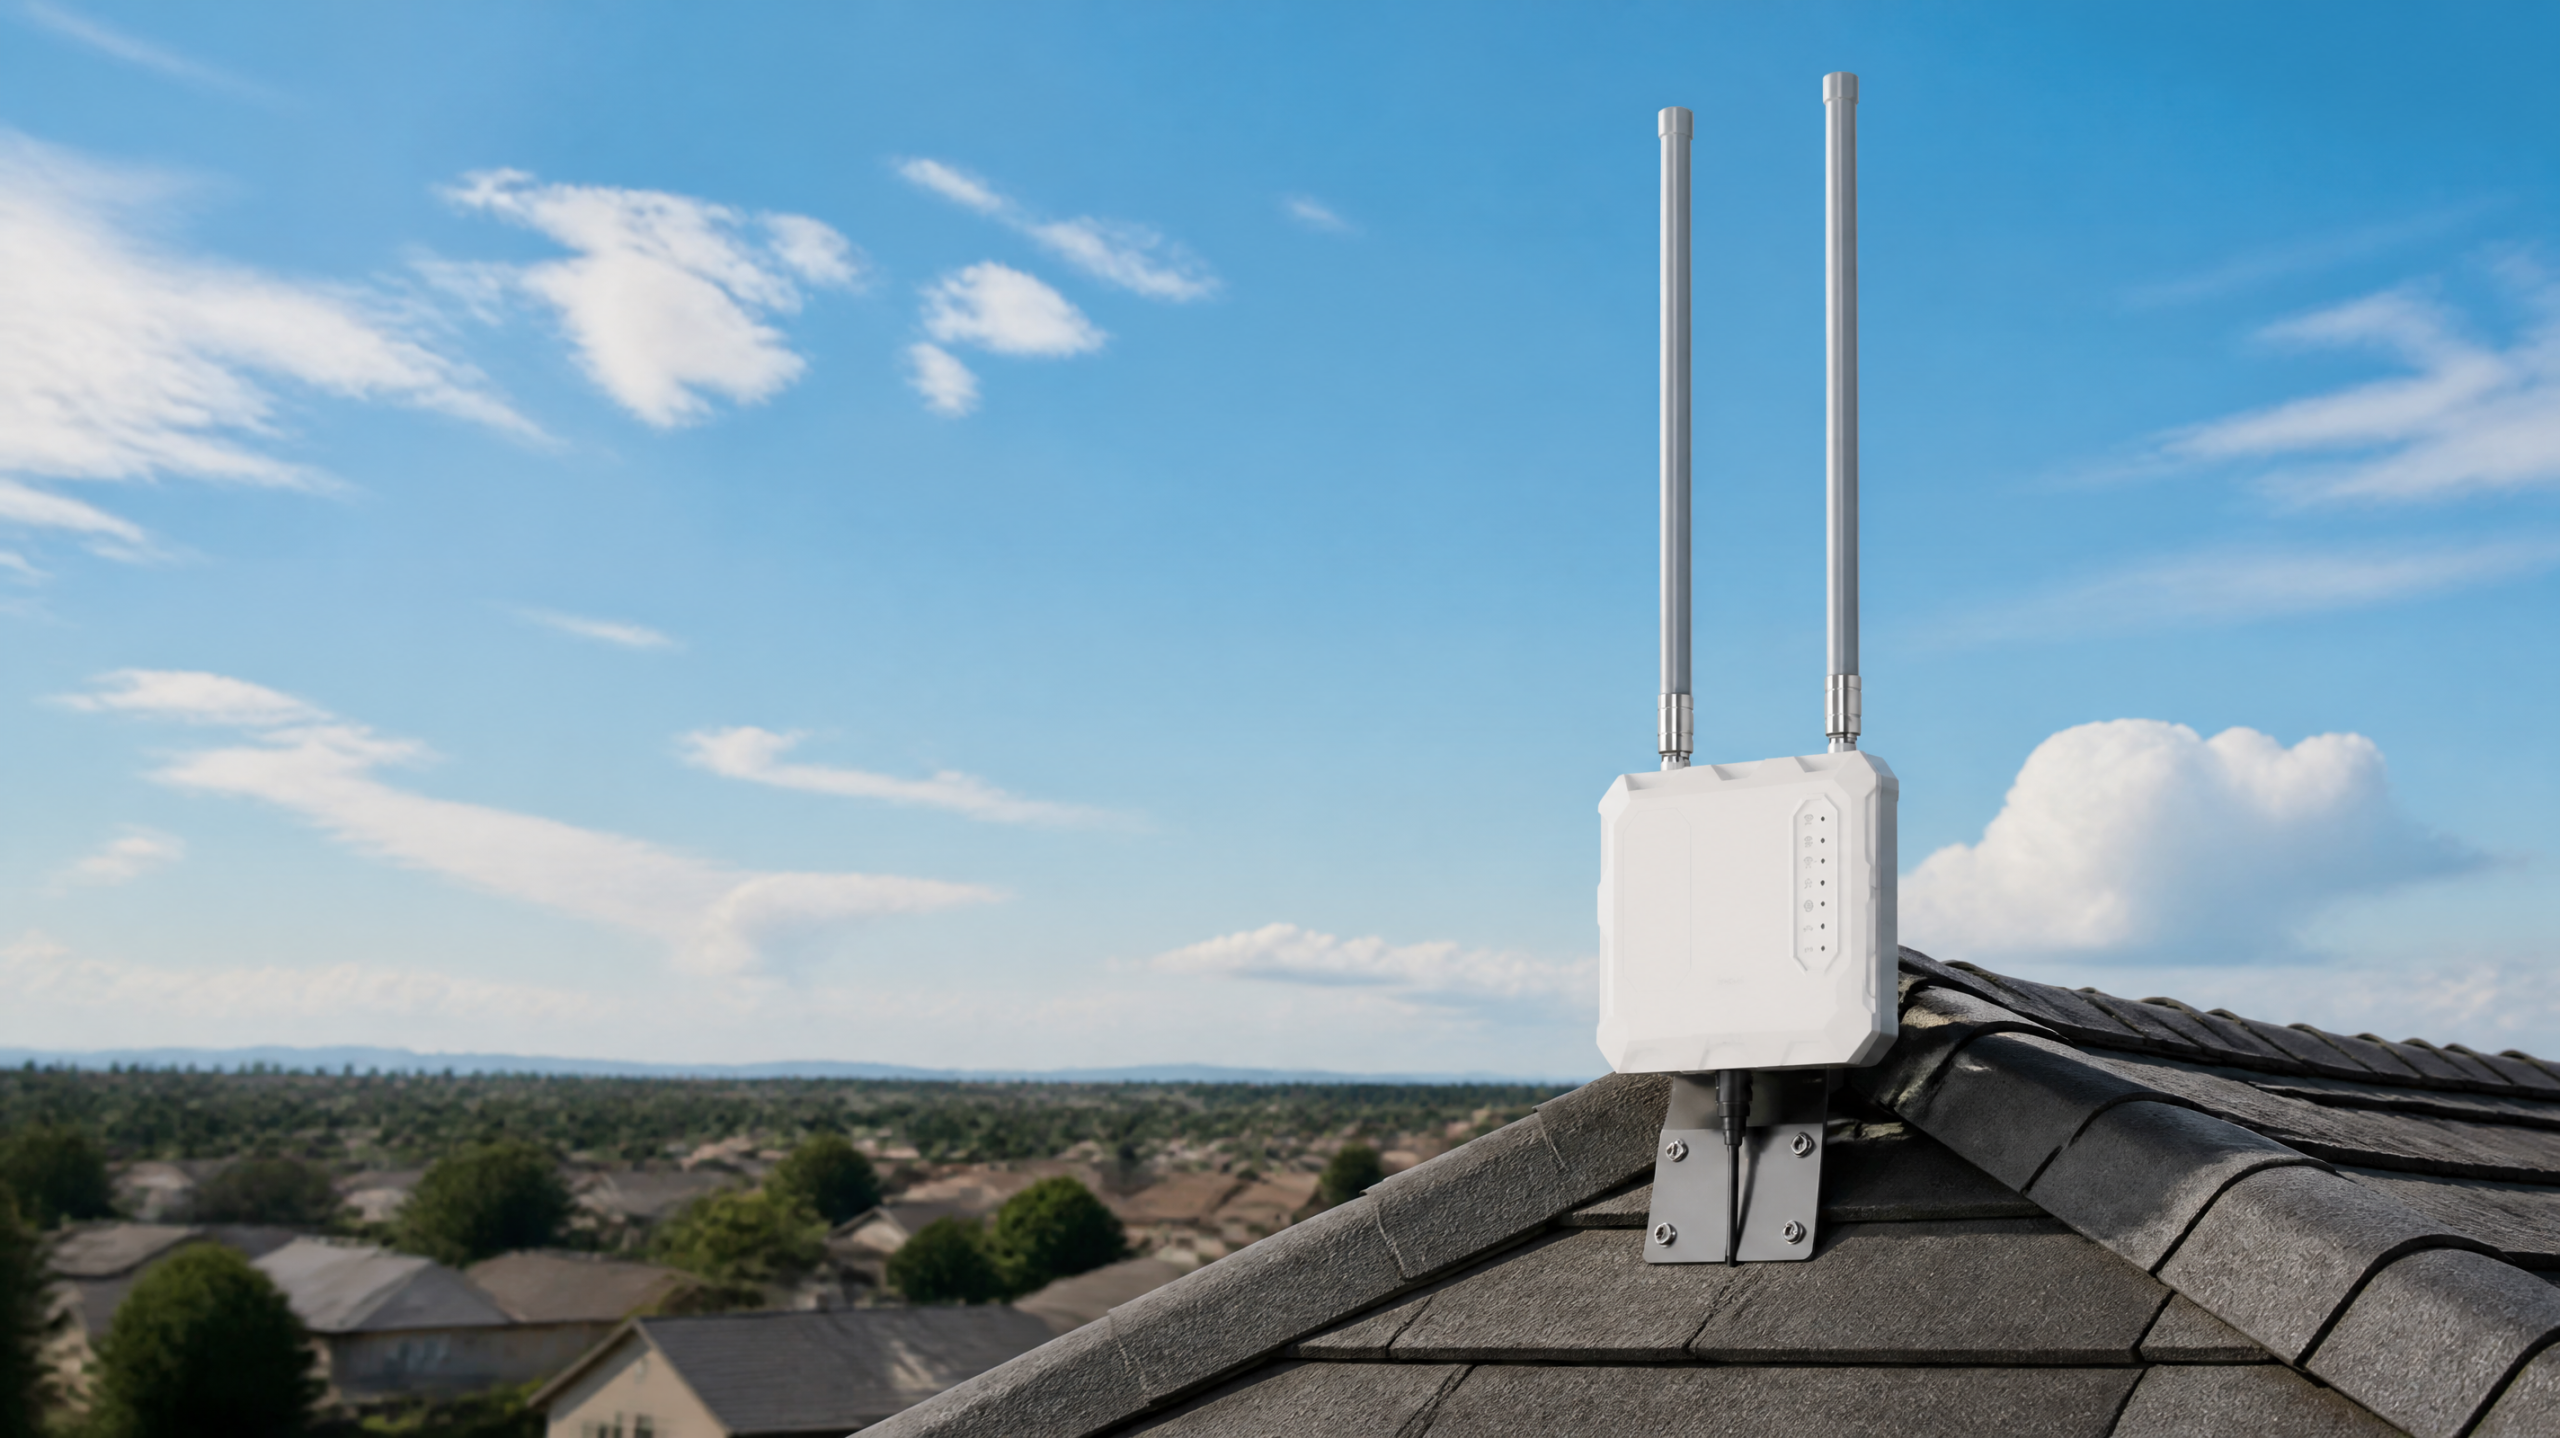
- Wireless Cameras: These are gold standard for renters. They connect to your Wi-Fi network and often run on batteries or use a simple power adapter, eliminating the need for complex wiring.
- Window-Mounted Cameras: Specifically designed to look out of a window, these cameras provide outdoor surveillance without being physically mounted outside. They’re discreet and ingeniously renter-friendly.
- Indoor Cameras: For monitoring inside your apartment, these are perfect for keeping an eye on pets, checking on children, or deterring intruders. Many offer two-way audio and motion detection.
- Doorbell Cameras: While some require drilling, many newer models use existing doorbell wiring or are battery-powered and attach with strong adhesive strips, making them suitable for apartments.
- Stand-Alone Cams: These devices don’t require a hub and often store footage in the cloud or on a local SD card, simplifying the setup.
What to Look for in a Renter-Friendly Security Camera:
- No-Drill Installation: This is paramount. Look for cameras that use adhesive, magnetic mounts, or window-clinging designs.
- Wi-Fi Connectivity: Minimizes wiring and allows for remote monitoring.
- Power Options: Battery-powered or cameras with long power cords that can reach existing outlets are ideal.
- Night Vision: Essential for 24/7 surveillance. Look for 4K night vision for superior clarity in low light.
- Motion Detection & Alerts: Get instant notifications when activity is detected.
- Two-Way Audio: Communicate with visitors or deter intruders from afar.
- Cloud Storage/Local Storage: Secure options for saving recorded footage.
- Privacy Features: Options like privacy zones or physical lens covers are beneficial.
Here’s a quick comparison of common renter security scenarios and the ideal camera types:
| Scenario | Ideal Camera Type | Key Renter Benefit |
|---|---|---|
| Monitoring packages outside your door | Window-mounted or Battery Doorbell | External view without drilling/outdoor install |
| Checking on pets inside apartment | Indoor Pan/Tilt or Fixed Cam | Easy placement, no structural changes |
| Seeing who’s at the apartment door | Battery Doorbell or Peep-hole Cam | Simple adhesive/existing fitting, no wiring |
| Deterring general intrusion inside | Indoor Motion-Activated Cam | Portable, easy relocation |
| Watching exterior while away | Window-mounted with wide FOV | Looks outside from a secure indoor location |
Step-by-Step Apartment Security Camera Setup (2026 Edition)
Once you’ve chosen your renter-friendly security camera, it’s time for installation. Follow these steps for a smooth setup:
1. Read the Manual (Seriously!)
Each camera has unique features and setup instructions. Before you do anything, thoroughly read the manufacturer’s guide. This will save you time and prevent potential mishaps.
2. Choose Optimal Placement
This is critical for effective surveillance. Consider these areas:
- Main Entry Points: The front door is obvious, but also think about large windows that could be entry points (especially if on the ground floor).
- High-Traffic Areas: Living rooms, hallways, or any area where intruders would likely pass through.
- Valuables: Consider placing cameras near high-value items, but ensure the camera itself isn’t easily visible or accessible to an intruder.
- Power Access: Most cameras need power. Identify outlets close to your desired camera locations. For window-mounted cameras, ensure the cord can reach an indoor outlet without being strained or creating a tripping hazard.
- Wi-Fi Signal: Test the Wi-Fi strength in your chosen locations. A weak signal will lead to dropped connections and poor video quality.
3. Prepare for Installation
- Charge Batteries: If your camera is battery-powered, fully charge it before installation.
- Download the App: Most smart cameras operate via a dedicated smartphone app. Download it from your app store and create an account.
- Clear Pathways: Ensure the area around your chosen spot is clear for installation.
4. Connect to Power and Wi-Fi
- Plug In: Connect the camera to power using its provided adapter.
- Follow App Prompts: Open the camera’s app. It will guide you through connecting the camera to your apartment’s Wi-Fi network. This usually involves scanning a QR code on the camera or manually entering your Wi-Fi credentials.
- Firmware Updates: Allow the camera to download and install any necessary firmware updates immediately for optimal performance and security.
5. Mount the Camera (Renter-Friendly Methods)
This is where renter-specific options shine:
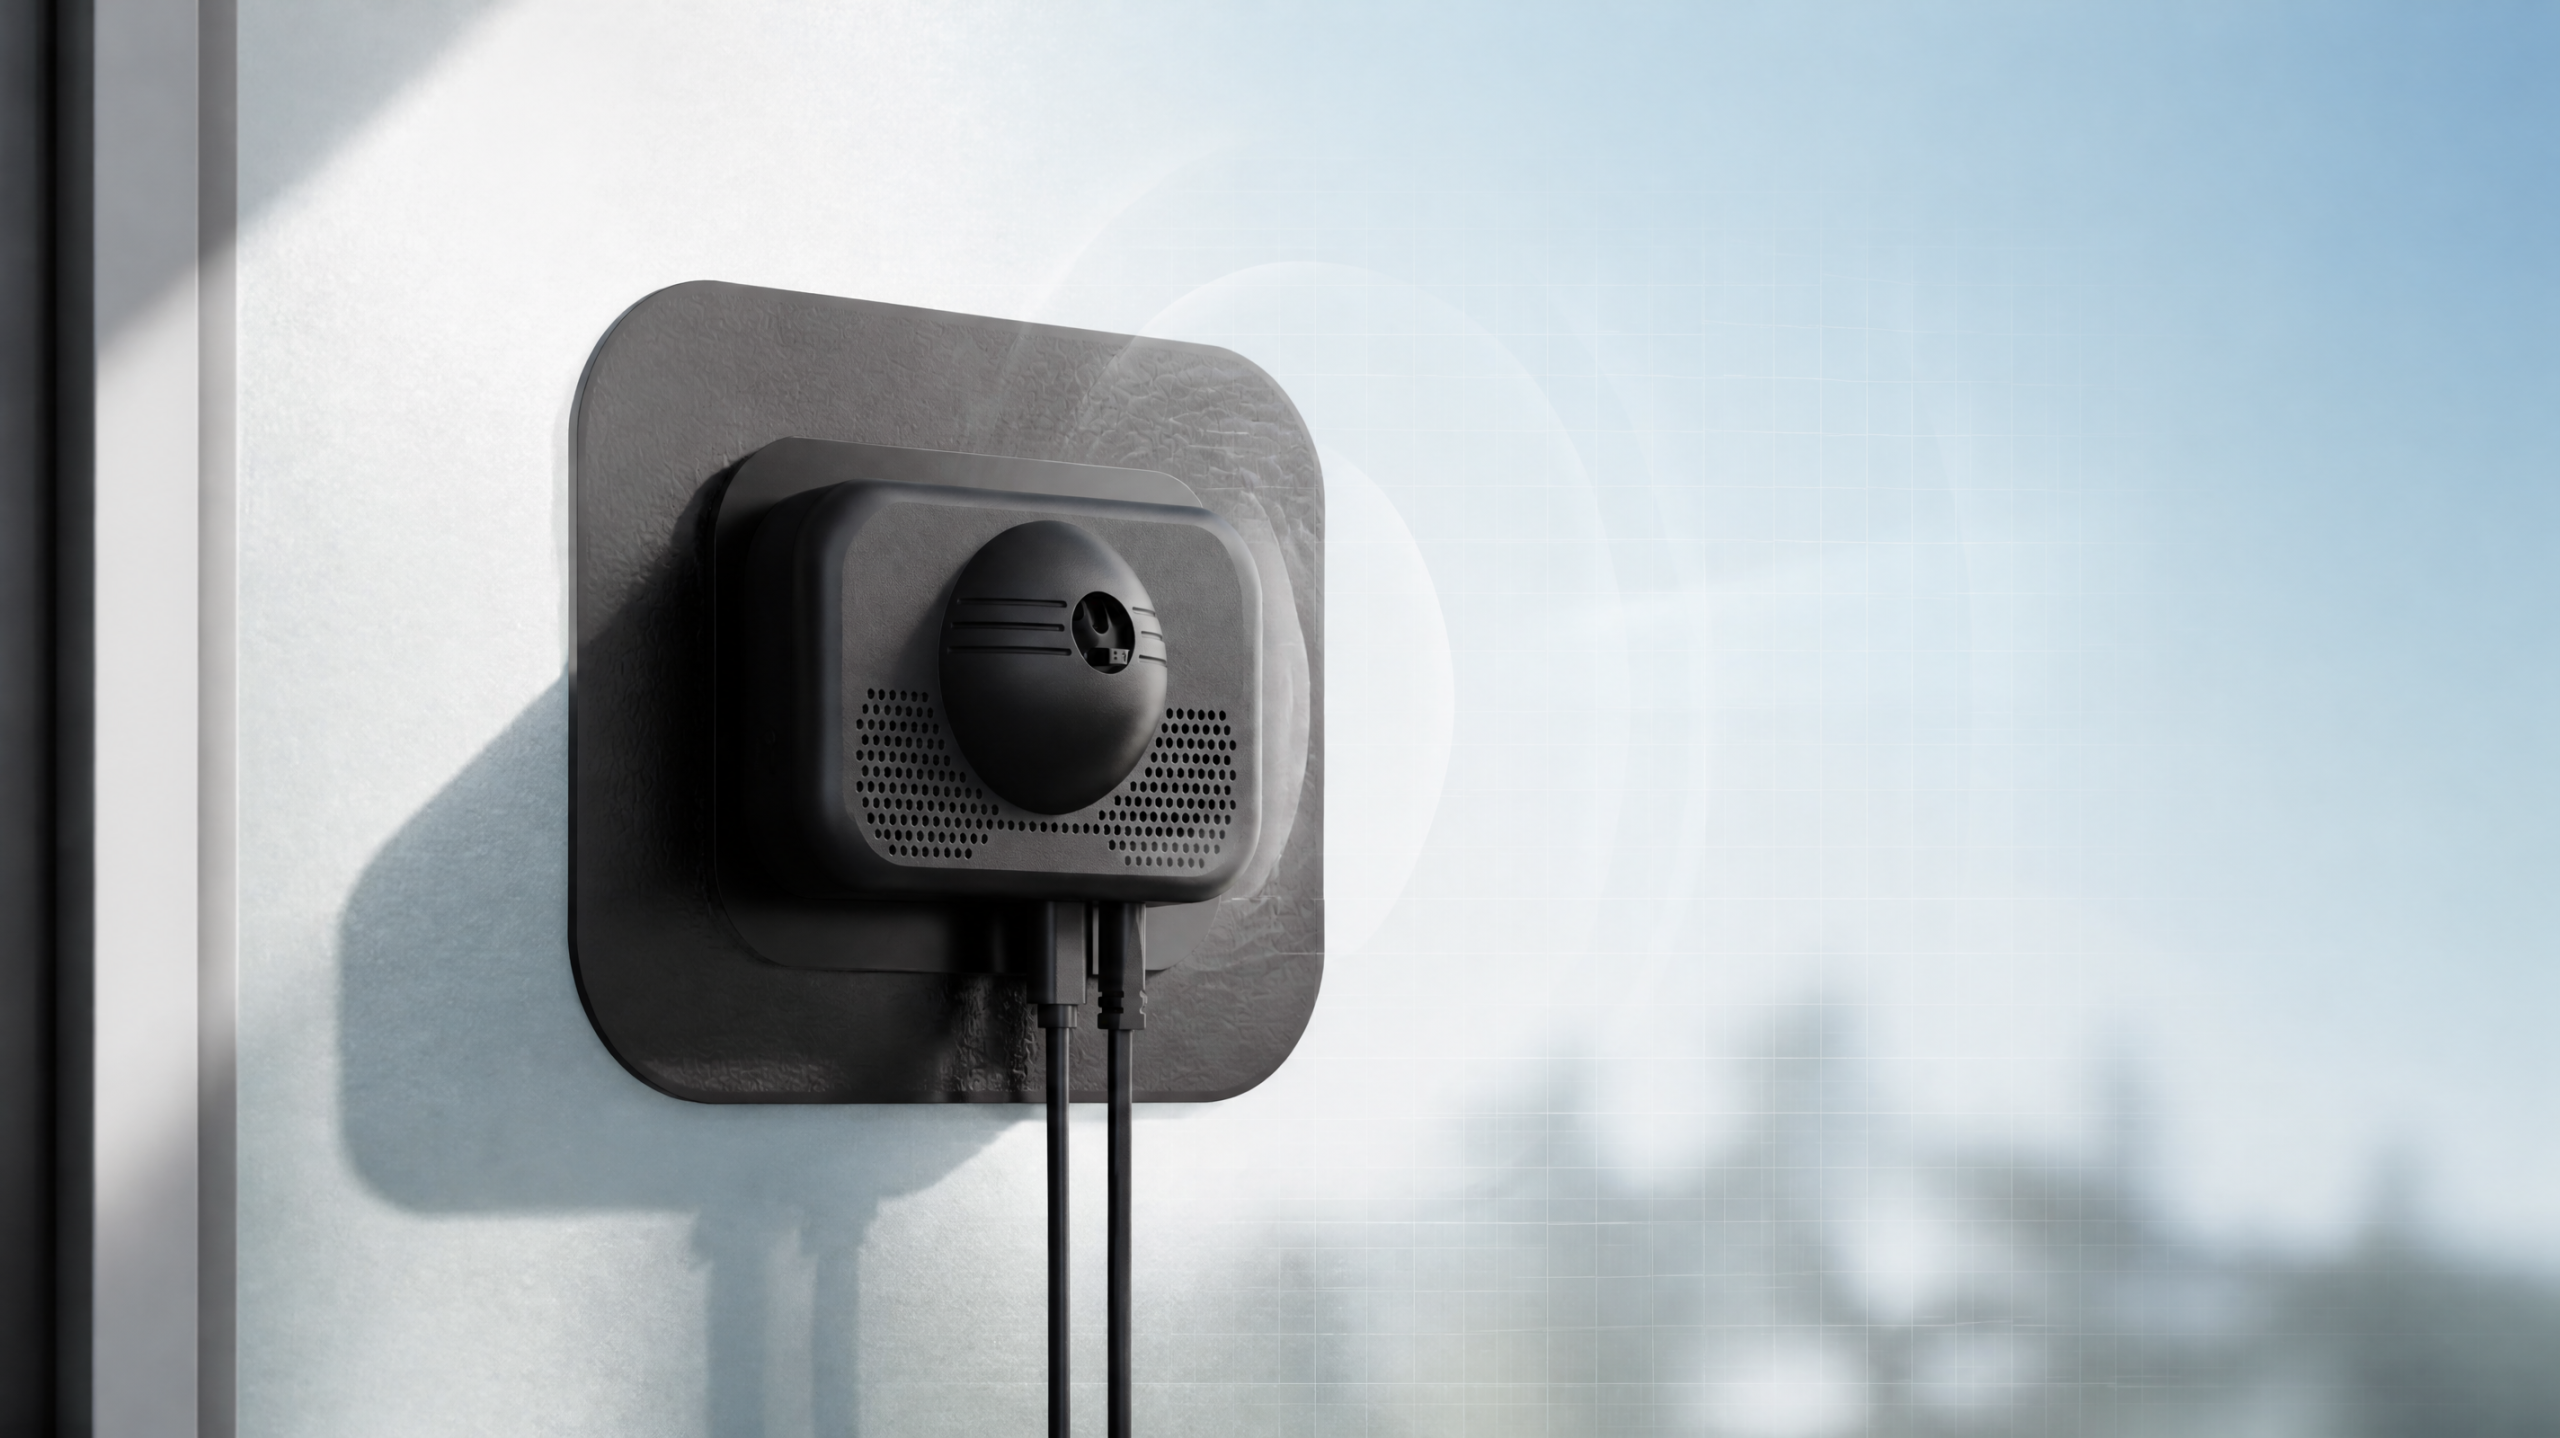
- Window-Mounted: For cameras like the ShowMo WinEye, simply attach it to the inside of your window using its strong suction cups or adhesive. Ensure the lens has an unobstructed view.
- Adhesive Strips/Magnetic Mounts: Many indoor cameras come with strong, residue-free adhesive strips or magnetic bases that can attach to metal surfaces.
- Clip-On/Clamp Mounts: Some cameras can clip onto shelves, blinds, or doorframes without drilling.
- Freestanding: The simplest option! Place the camera on a shelf, table, or mantelpiece with a clear view. Ensure it’s stable and won’t be easily knocked over.
6. Configure Settings & Test
- Motion Detection Zones: In the app, define specific areas you want the camera to monitor for motion and areas to ignore (e.g., a busy street outside a window).
- Sensitivity: Adjust motion sensitivity to prevent false alarms from pets or swaying branches.
- Notification Preferences: Set how you want to receive alerts (push notifications, email).
- Two-Way Audio: Test the microphone and speaker functions.
- Night Vision: Ensure night vision automatically activates in low light conditions.
- Privacy Zones: If available, Blackout areas of the camera’s view that you don’t want to record (e.g., a neighbor’s window).
- Test Recording: Walk in front of the camera, open the door, and simulate scenarios to ensure it’s recording and alerting you as expected.
Product Spotlight: ShowMo WinEye – Your Apartment’s Window to Security
For apartment dwellers seeking robust outdoor surveillance without the hassle of drilling or violating lease agreements, the ShowMo WinEye is a game-changer. This innovative window-mounted security camera is specifically designed with renters in mind, bridging the gap between indoor convenience and outdoor protection.
The ShowMo WinEye adheres seamlessly to the inside of your window, looking out to monitor your doorstep, balcony, patio, or even your car in the parking lot. What truly sets it apart is its no-drill installation – simply attach it and power it up. But clever design isn’t its only forte; the WinEye boasts stunning 4K night vision, providing crystal-clear, detailed footage even in pitch-black conditions. Forget grainy, unrecognizable shapes; with the WinEye, you’ll gain true clarity. Its wide-angle lens captures a broad view, and its intelligent motion detection ensures you’re only alerted when it matters.
Equipped with two-way audio, you can communicate with delivery personnel or deter unwanted visitors from anywhere. The WinEye integrates seamlessly with your existing smart home setup, offering peace of mind and advanced outdoor security without ever stepping foot outside your apartment window. It’s the ultimate renter-friendly solution for comprehensive external surveillance.
Maintaining Your Apartment Security Camera System
Once your camera is set up, a little ongoing maintenance will ensure its longevity and effectiveness:
- Regular Cleaning: Dust can accumulate on lenses, especially for window-mounted cameras. Gently clean the lens with a soft, dry cloth. For window-mounted cameras, keep the window glass itself clean.
- Check Wi-Fi Connection: Periodically ensure your camera has a strong Wi-Fi signal. If you notice buffering or disconnects, consider a Wi-Fi extender.
- Monitor Battery Life: For battery-powered cameras, keep an eye on battery levels via the app and recharge as needed.
- Update Firmware: Always install available firmware updates. These often include security patches and new features.
- Review Footage: Regularly check recorded footage to ensure the camera is capturing what you expect it to.
- Cloud Storage Management: If you use cloud storage, review your subscription plan and ensure you have enough space. Delete old, unnecessary footage to free up storage.
FAQs About Apartment Security Camera Setup
Q1: Is it legal to install a security camera in my apartment?
A: Generally, yes, for cameras pointing within your own apartment. However, when pointing cameras outside your apartment (e.g., hallway, neighbor’s property), laws vary by state and even apartment complex rules. It’s crucial to ensure your camera only records areas where there’s no reasonable expectation of privacy. Always check your lease agreement and local laws. For window-mounted cameras looking outward (like the ShowMo WinEye), ensure it only monitors your property line or public areas, avoiding direct views into private neighbor spaces.
Q2: Will my landlord know I have a security camera? Do I need their permission?
A: For internal cameras that don’t alter the property, your landlord likely won’t know, and permission is usually not required. For cameras that involve any kind of “installation” (even adhesive mounts) or look outside your apartment, it’s always best practice to review your lease. Some leases have clauses about external-facing devices or modifications. If in doubt, a quick, discreet conversation with management clarifying you’re using a non-invasive, temporary solution for personal security can prevent future issues.
Q3: What if I have weak Wi-Fi in my apartment?
A: Weak Wi-Fi can severely impact your camera’s performance. First, try relocating your Wi-Fi router to a more central, elevated position. If that doesn’t help, consider a Wi-Fi extender or a mesh Wi-Fi system to boost your signal. Some cameras also support Ethernet connections, which are more stable, but this might not be renter-friendly if it requires running cables. Ensure your camera’s location doesn’t have too many physical obstructions between it and your router.
Conclusion
Securing your apartment in 2026 is no longer a privilege reserved for homeowners. With a plethora of renter-friendly solutions and advancements in technology, you can achieve robust surveillance without breaking your lease or your bank. By carefully selecting a camera, following our step-by-step setup guide, and considering innovative products like the ShowMo WinEye, you can create a safer, more secure living environment for yourself and your loved ones. Take control of your apartment’s security and enjoy the peace of mind you deserve.