Security Camera Placement Guide: Best Angles for Maximum Coverage
Protecting your home is paramount, and in today’s world, security cameras are an indispensable tool in that defense. But simply owning a camera isn’t enough; where you place it dictates its effectiveness. A poorly positioned camera can have blind spots, obscure crucial details, or even be easily disabled by an intruder. On the other hand, strategically placed cameras offer unparalleled peace of mind and act as a powerful deterrent. This comprehensive security camera placement guide will walk you through the essential considerations to ensure your home is fully covered, helping you discover the best angle for a security camera and decide where to mount security camera for optimal protection.
From understanding entry points to leveraging focal lengths, we’ll delve into the nuances of maximizing your security camera’s potential. Whether you’re a first-time installer or looking to optimize an existing system, follow these expert tips to create a robust and intelligent surveillance setup.
Assessing Your Property: Identifying Key Vulnerabilities
Before you even unbox your camera, the first and most crucial step is a thorough assessment of your property. Think like an intruder. Where would they try to enter? What are the most vulnerable spots? This initial reconnaissance will guide your entire placement strategy.
- Main Entry Points: The front door, back door, and ground-floor windows are prime targets. These should always be a priority for camera coverage.
- Accessible Windows: Don’t just think about ground-floor windows. Any window easily reachable from a porch, deck, or even a low roof should be monitored.
- Basement Entrances: Often overlooked, basement windows and doors can be surprisingly accessible.
- Garages and Sheds: These structures often house valuable tools or vehicles and can provide an intruder with a secluded entry point into your home.
- Hidden Areas: Side alleys, secluded corners of the yard, or areas obscured by large bushes can offer cover for suspicious activity.
- Valuables on Display: If you have expensive items visible from outside, such as a high-end car in the driveway or electronics near a window, ensure these areas are covered.
Walk around your property, both inside and out, at different times of day. Consider lighting conditions and potential obstructions. Sketch out a basic floor plan and mark down potential camera locations to create a visual action plan.
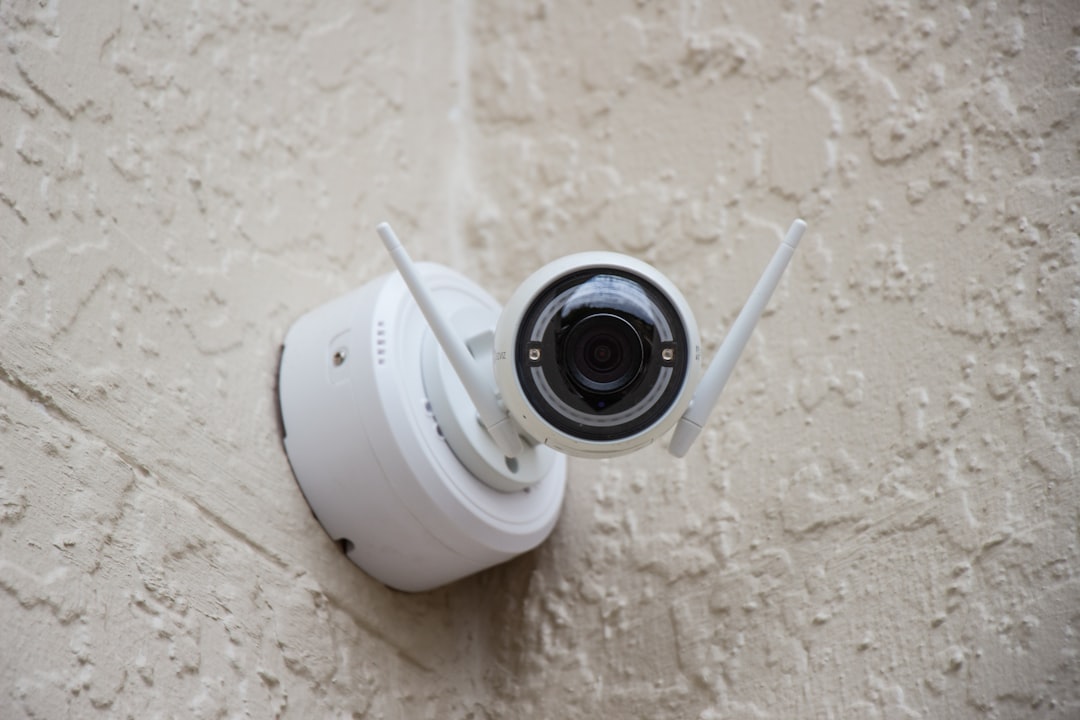
Optimal Outdoor Camera Placement Strategies
Outdoor cameras are your first line of defense. Their placement is critical for deterring intruders and capturing evidence.
Front Door & Main Entryways
- Height: Aim for 8-10 feet high. This prevents tampering while still providing a clear view of faces.
- Angle: Point the camera slightly downwards to capture both faces and packages left on the doorstep. Ensure it covers the entire door, porch, and any immediate approach. Avoid pointing it directly into the sun, which can cause glare and obscure images. If sunlight is unavoidable, look for cameras with Wide Dynamic Range (WDR) capabilities.
- Consideration: Position it to cover the doormat and any entrance steps.
Back and Side Doors
- Height & Angle: Similar to the front door, 8-10 feet high and angled downwards is ideal.
- Coverage: Ensure the camera covers the entire doorframe and any paths leading to it. These areas are often more secluded, so broader coverage is beneficial.
- Proximity: If possible, position the camera to also watch adjoining windows or vulnerable areas.
Driveways and Garages
- Height: 10-12 feet to capture a wider view of vehicles and the approach.
- Angle: Position it to view the entire driveway and the garage door. If your driveway is long, consider a second camera further down.
- Focal Length: For longer driveways, a camera with optical zoom or a narrower field of view might be more effective to capture details of approaching vehicles.
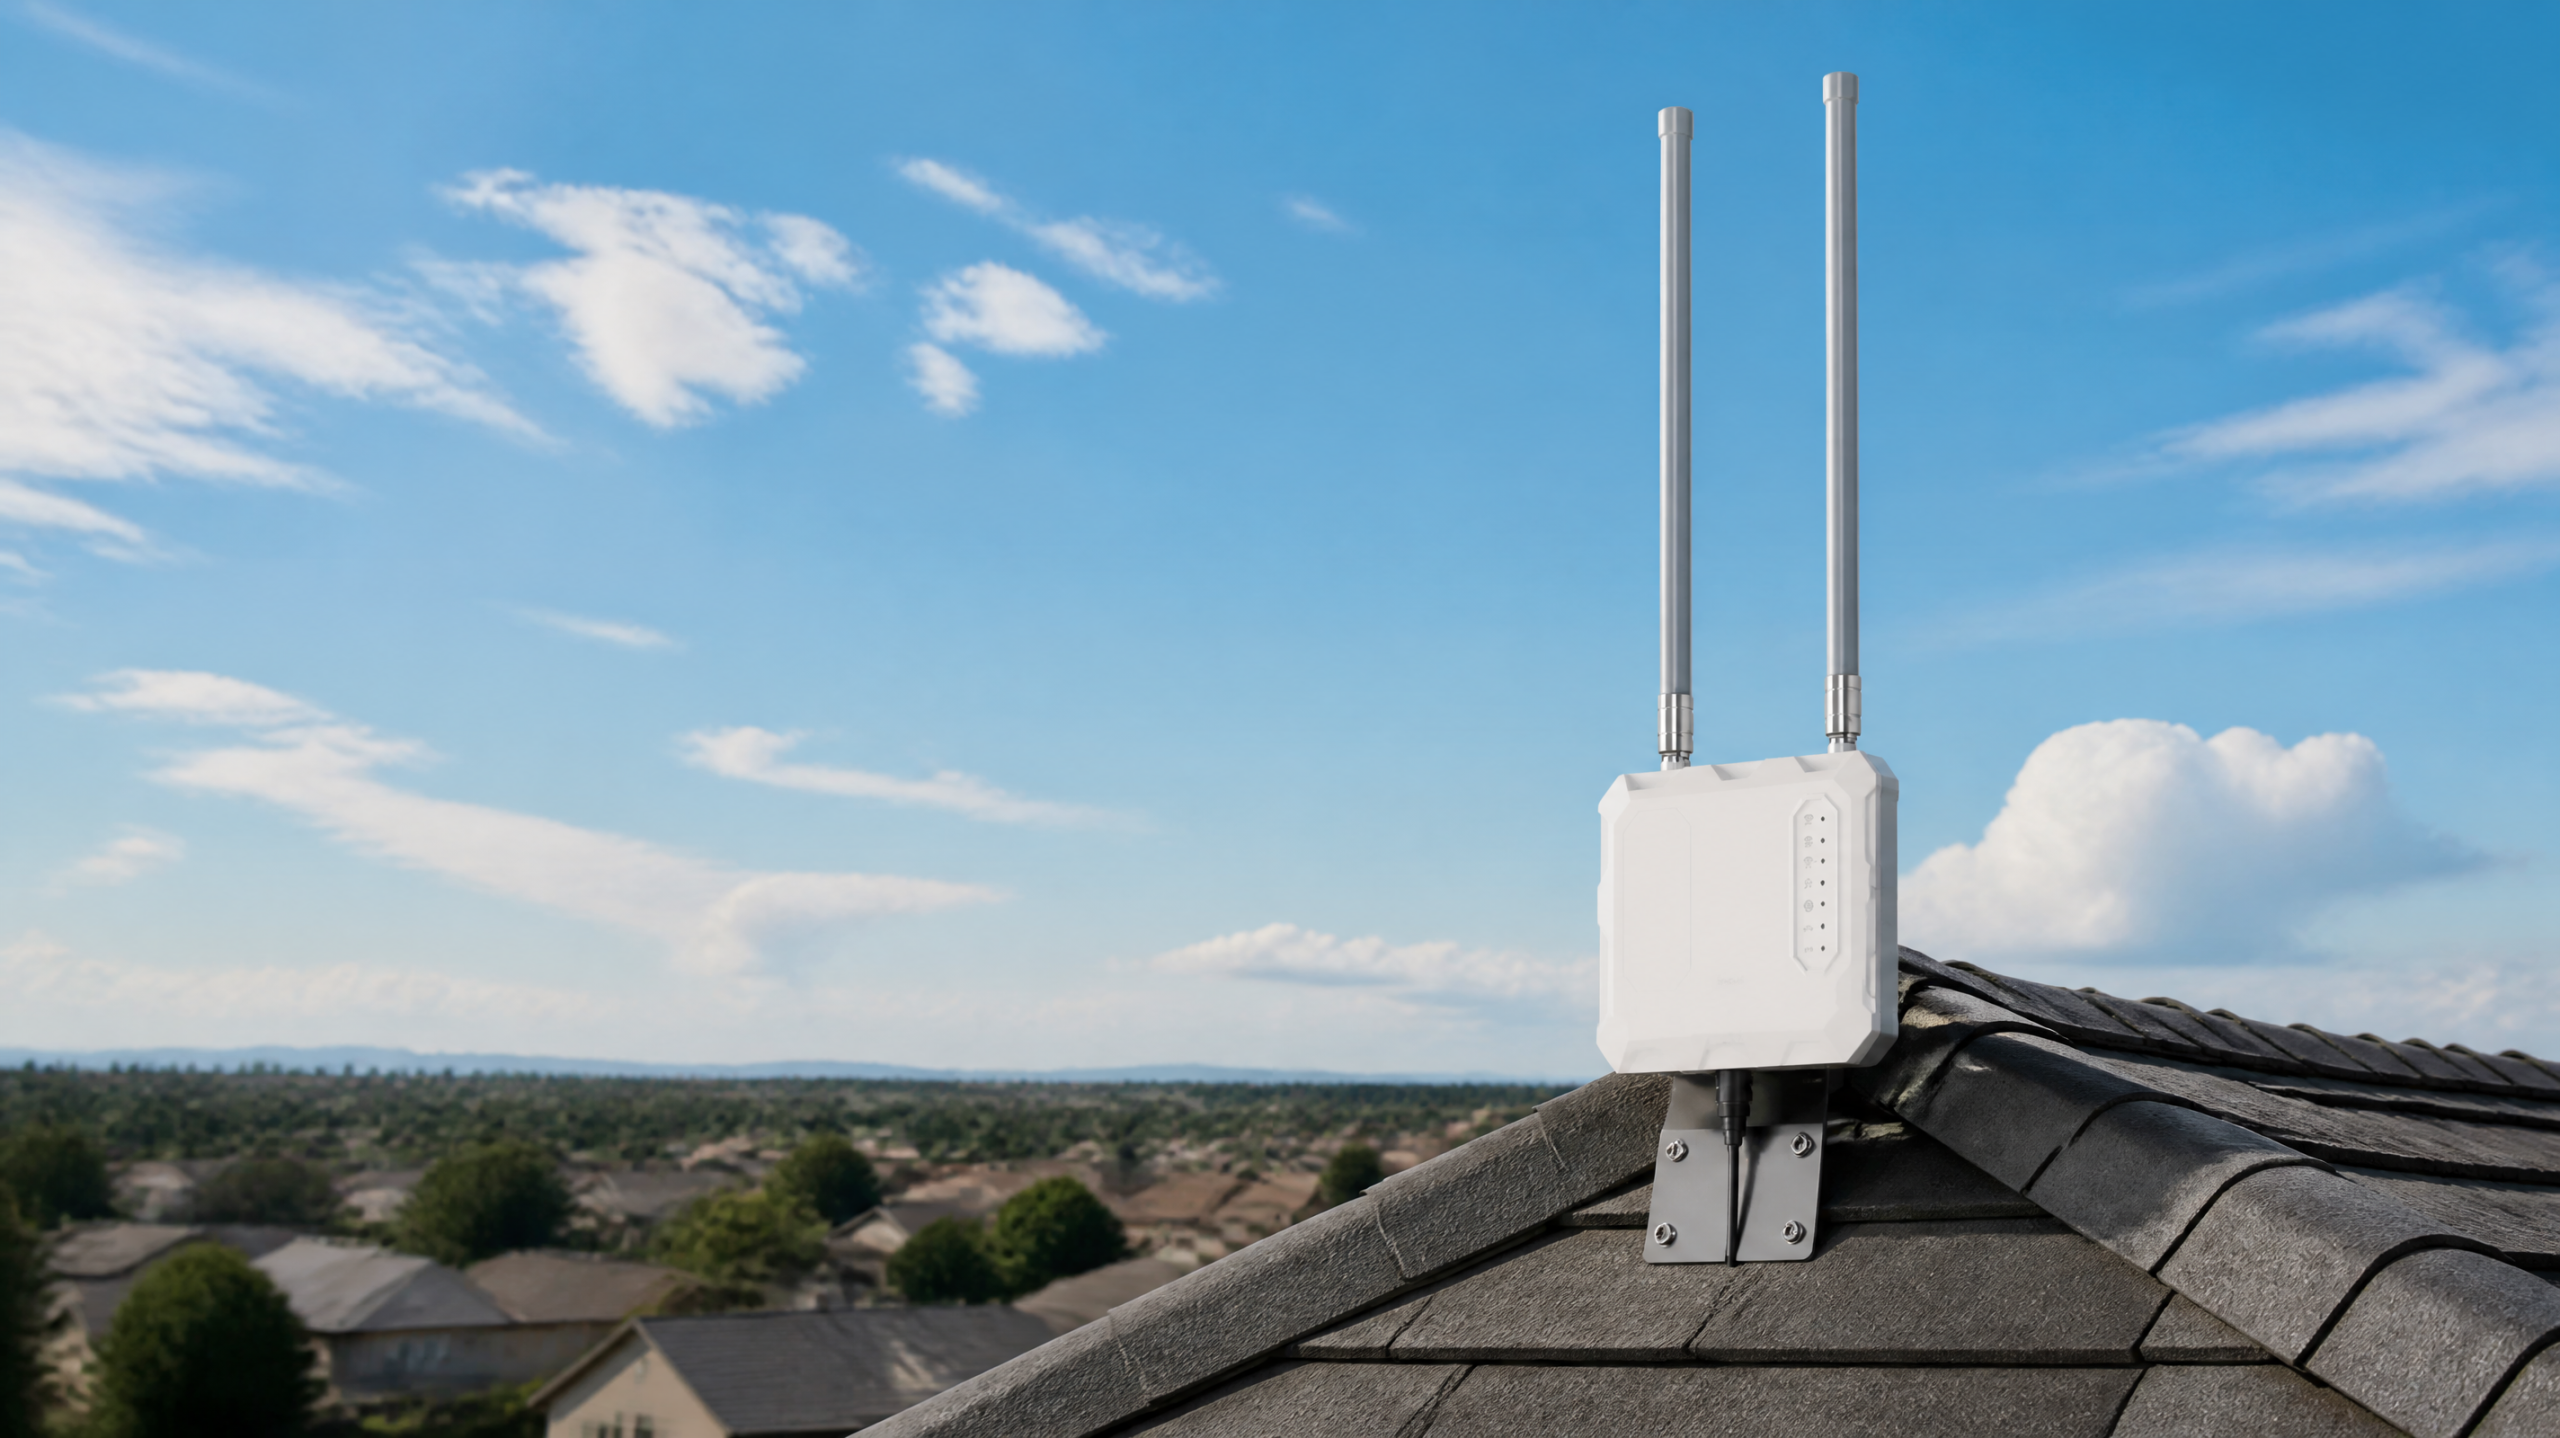
Yard & Perimeter
- Corners of the House: Placing cameras at the corners provides a wide field of view, covering two sides of your property simultaneously.
- Overlooking Fences/Gates: If you have a fence or gate, ensure cameras are positioned to monitor entry through these points.
- Landscaping: Be mindful of trees, bushes, and other landscaping that could obstruct the camera’s view as they grow. Prune regularly or adjust placement.
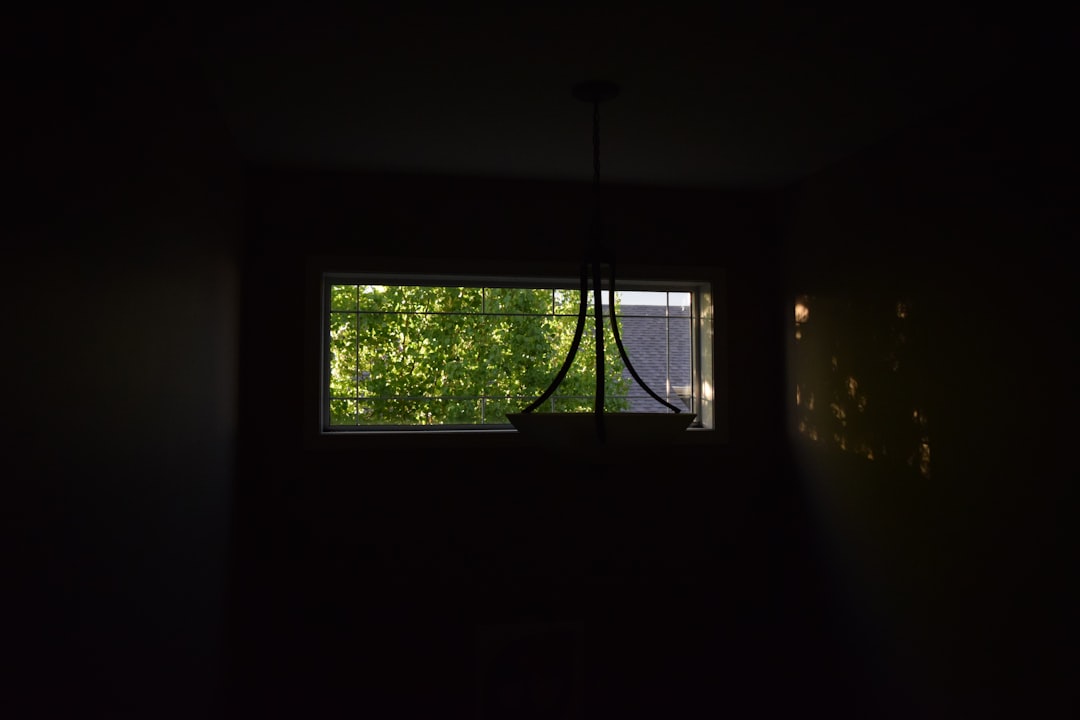
Indoor Camera Placement: Covering Your Home’s Interior
Indoor cameras serve multiple purposes: monitoring activity, checking on pets, and providing evidence if an intruder gains entry. Their placement requires a different approach than outdoor cameras.
Common Areas (Living Rooms, Kitchens)
- High Corners: Place cameras in high corners of main living areas to get a broad overview of the room. This helps identify movement and potential entry points like windows or sliding doors.
- Avoid Obscurity: Ensure furniture or decor doesn’t block the lens.
- Privacy: Be mindful of privacy, especially in bedrooms or bathrooms. Most indoor cameras are best suited for common areas.
Entryways & Hallways
- Facing Inward: Place cameras in hallways or near interior entry points (like a door from the garage) to capture anyone moving deeper into your home.
- Clear Line of Sight: Ensure the camera has a clear, unobstructed view of the entire hallway.
Valuables
- Discreet Placement: If monitoring specific valuable items, consider more discreet placements that aren’t immediately obvious but still offer a clear view.
- Motion Detection Zones: Utilize motion detection zones to alert you if someone approaches these items.
Technical Considerations for Optimal Performance
Beyond the physical location, technical aspects play a vital role in your camera’s effectiveness.
Power Source
Most cameras require power. Consider proximity to outdoor outlets or the feasibility of running cables. PoE (Power over Ethernet) cameras combine power and data into one cable, simplifying installation. Wireless cameras still need power, usually from an outlet or battery.
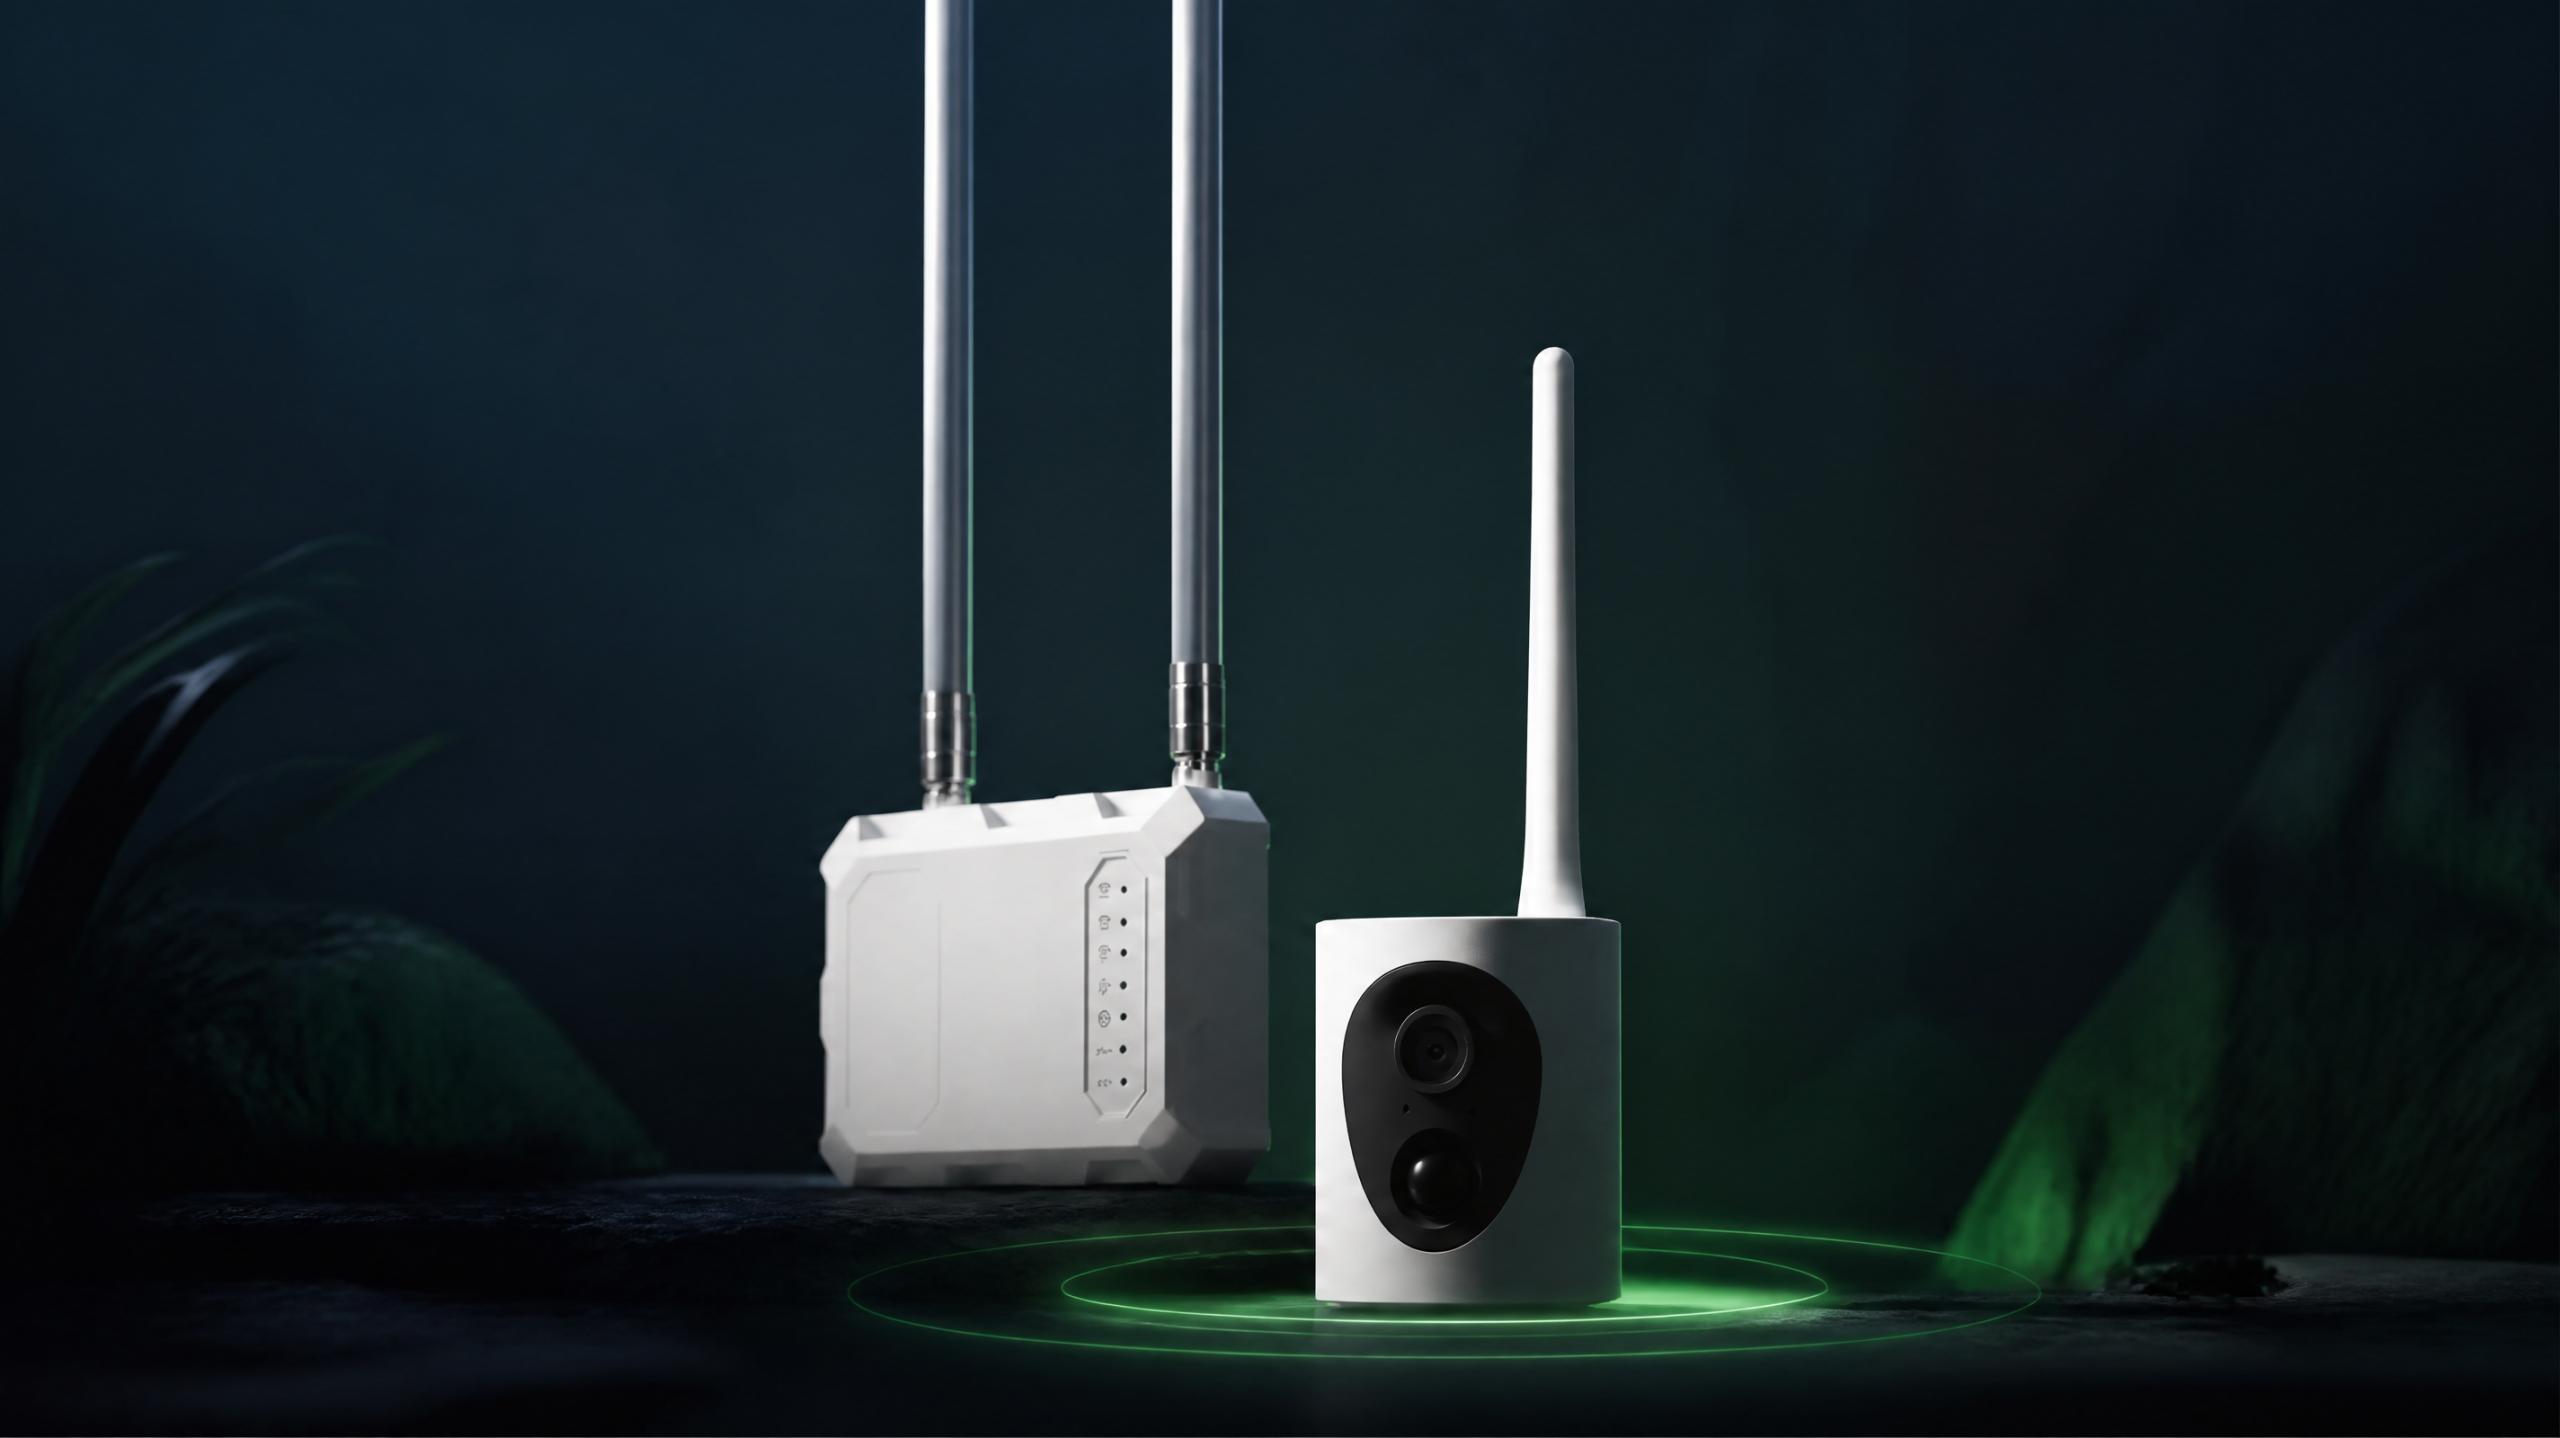
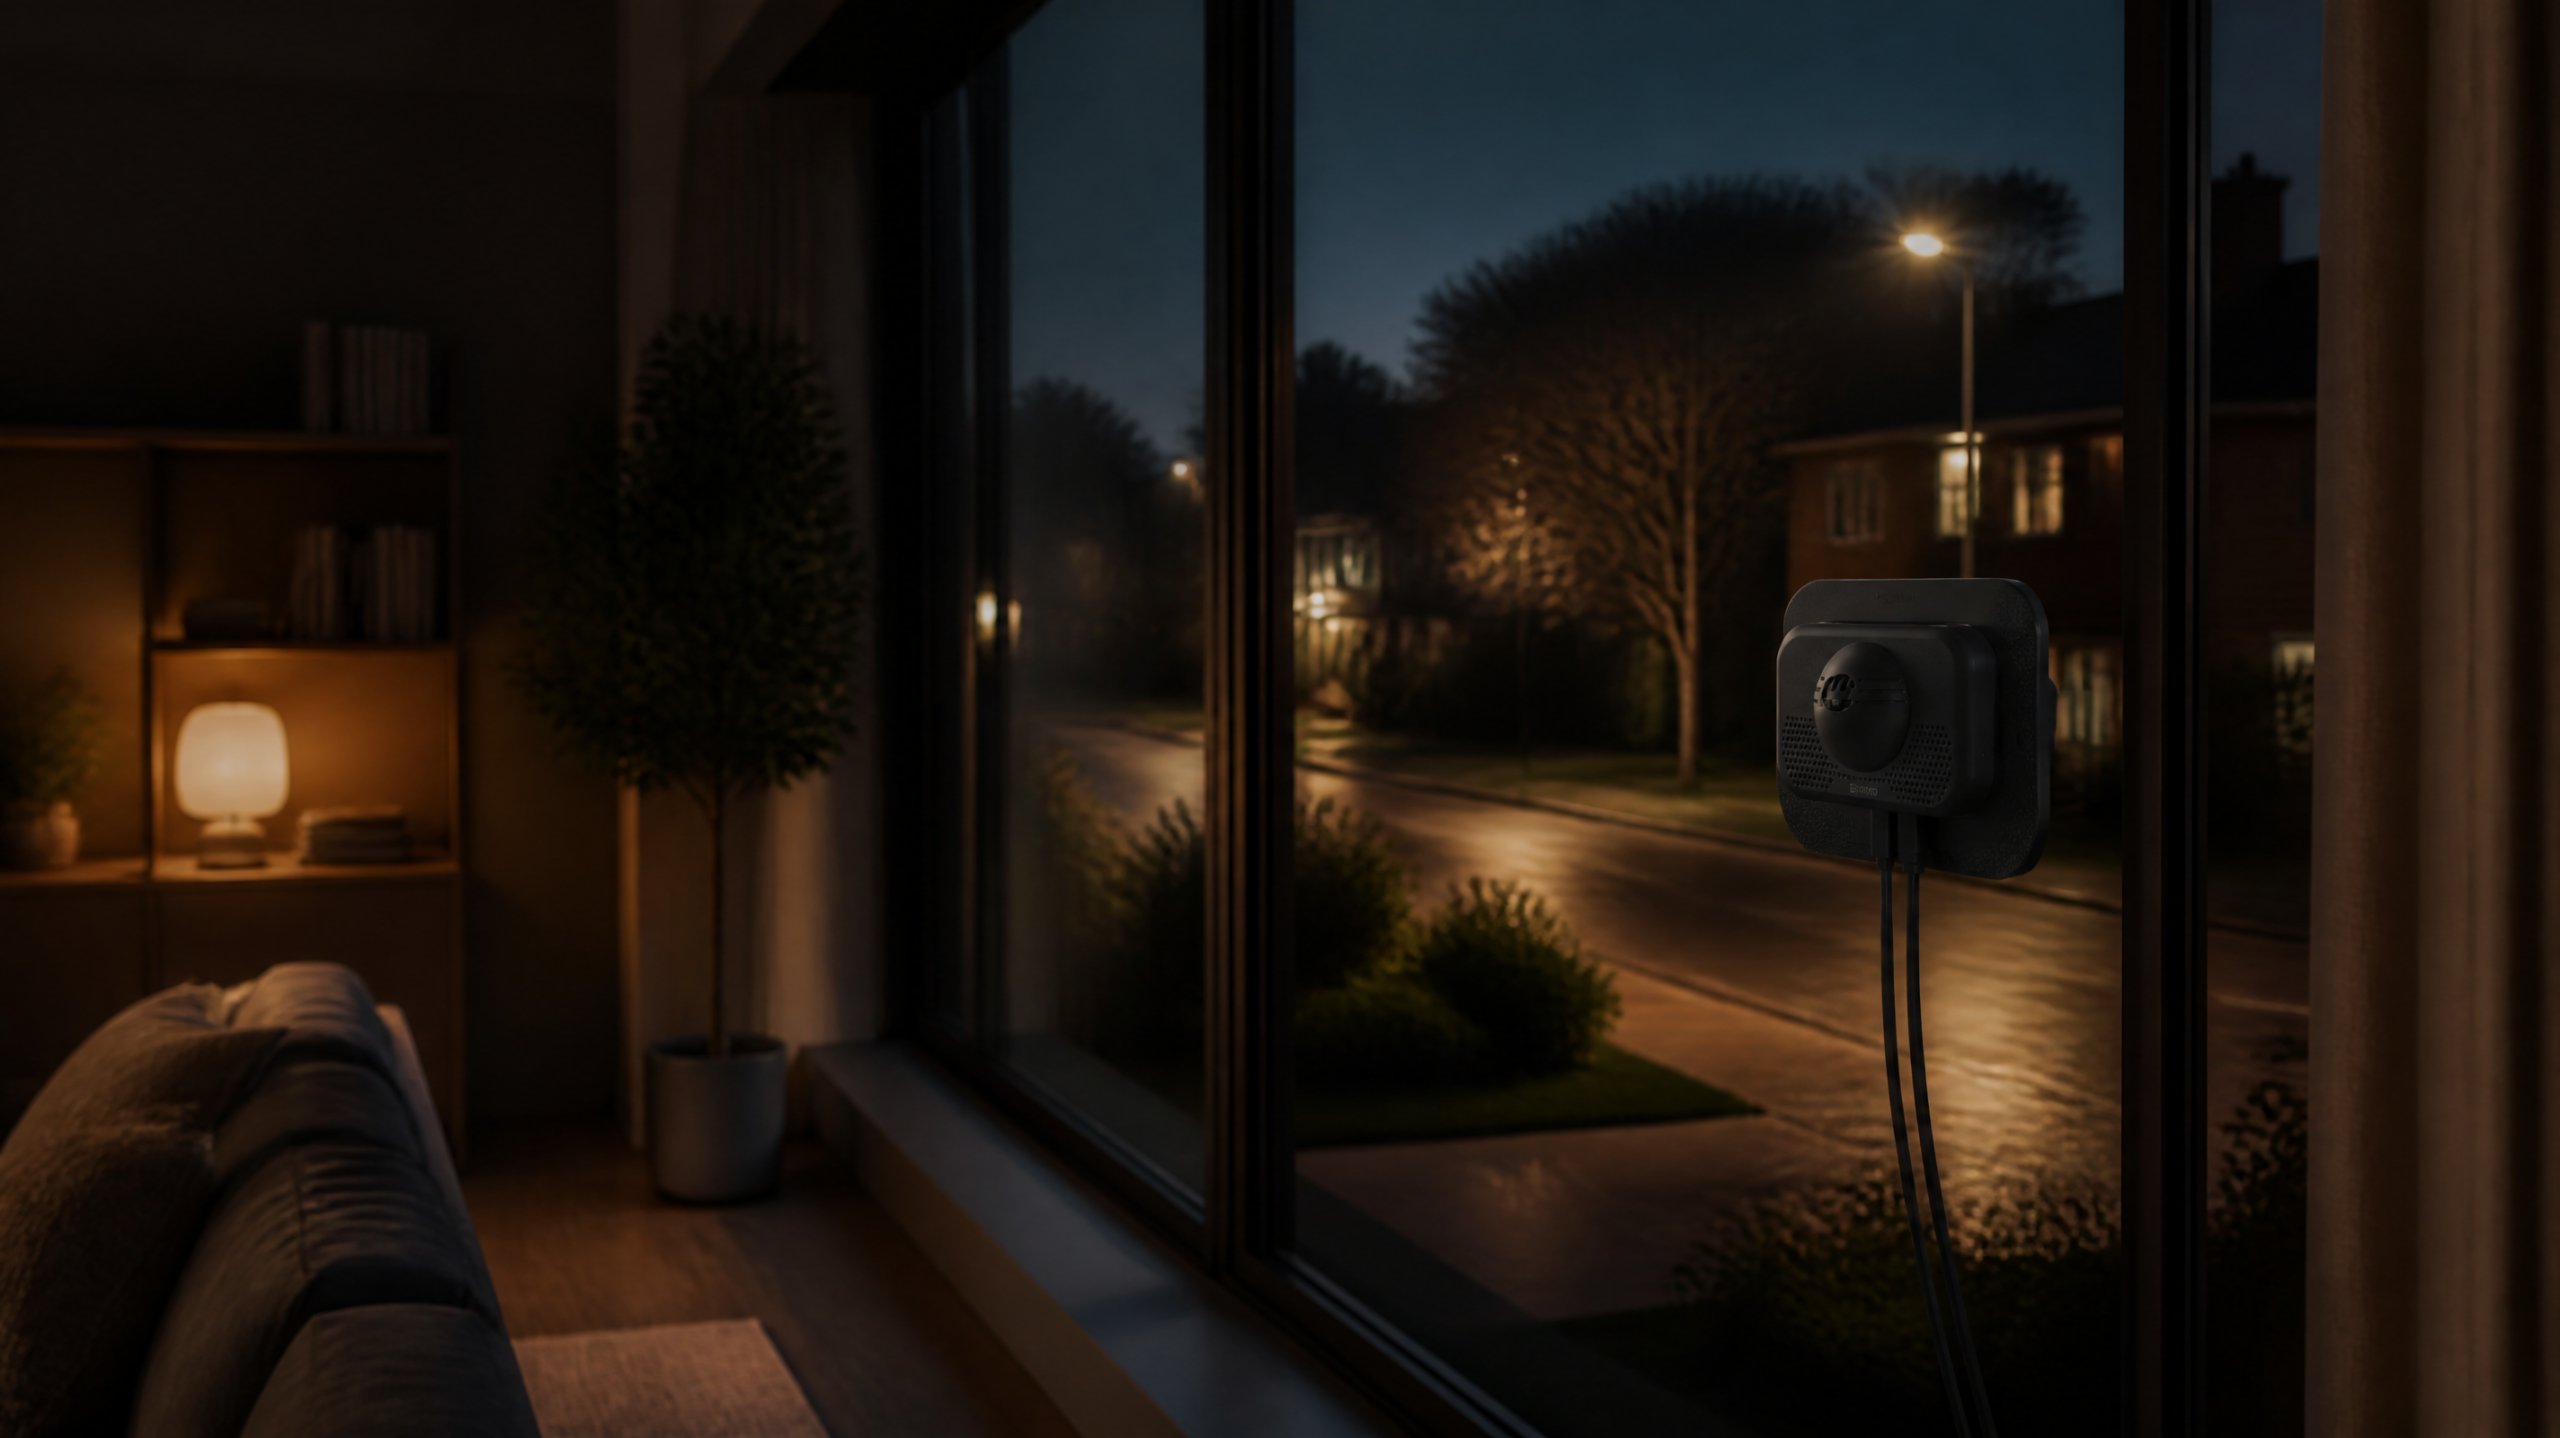
Wi-Fi Signal Strength
For wireless cameras, a strong Wi-Fi signal is non-negotiable. Test signal strength at your proposed camera locations. You might need Wi-Fi extenders or a mesh network for optimal performance.
Lighting Conditions
- Avoid Direct Sunlight: As mentioned, direct sunlight can wash out images.
- Night Vision: All outdoor cameras should have robust night vision. Ensure there are no reflective surfaces (like glass) too close to the camera, which can cause infrared glare.
- Ambient Light: If possible, leverage existing outdoor lighting (porch lights, floodlights) to enhance night vision and color capture.
Field of View (FOV) and Focal Length
- Wide-Angle Lenses: Most standard security cameras come with wide-angle lenses, ideal for covering large areas like yards or living rooms.
- Narrower FOV/Zoom Lenses: For specific detail (e.g., license plates at a distance), you might need cameras with a narrower field of view or optical zoom capabilities.
Consider Obstructions
Routinely check for new obstructions, such as overgrown foliage, new decorations, or even parked cars that might block your camera’s view.
Comparison Table: Camera Placement Scenarios
To help visualize the best approach, here’s a comparison of common placement scenarios:
| Scenario | Recommended Placement | Key Placement Tips | Ideal Camera Features |
|---|---|---|---|
| Front Door Entryway | Above door, 8-10 ft high | Angle downwards for face & package view; avoid direct sun. | Wide-angle lens, excellent night vision, two-way audio. |
| Long Driveway | At property entrance or corner of house overlooking driveway, 10-12 ft high | Cover entire length; consider a second camera for closer detail. | Optical zoom, high resolution (4K), weather-resistant. |
| Main Living Area | High corner facing main entry points (windows, doors) | Ensure clear line of sight, mindful of privacy. | Wide-angle lens, pan/tilt for flexibility, privacy modes. |
| Side/Back Yard Perimeter | Corners of house overlooking two sides, or overlooking gates/fences | Clearance from foliage; good height for broad coverage. | Weather-resistant, wide field of view, robust night vision. |
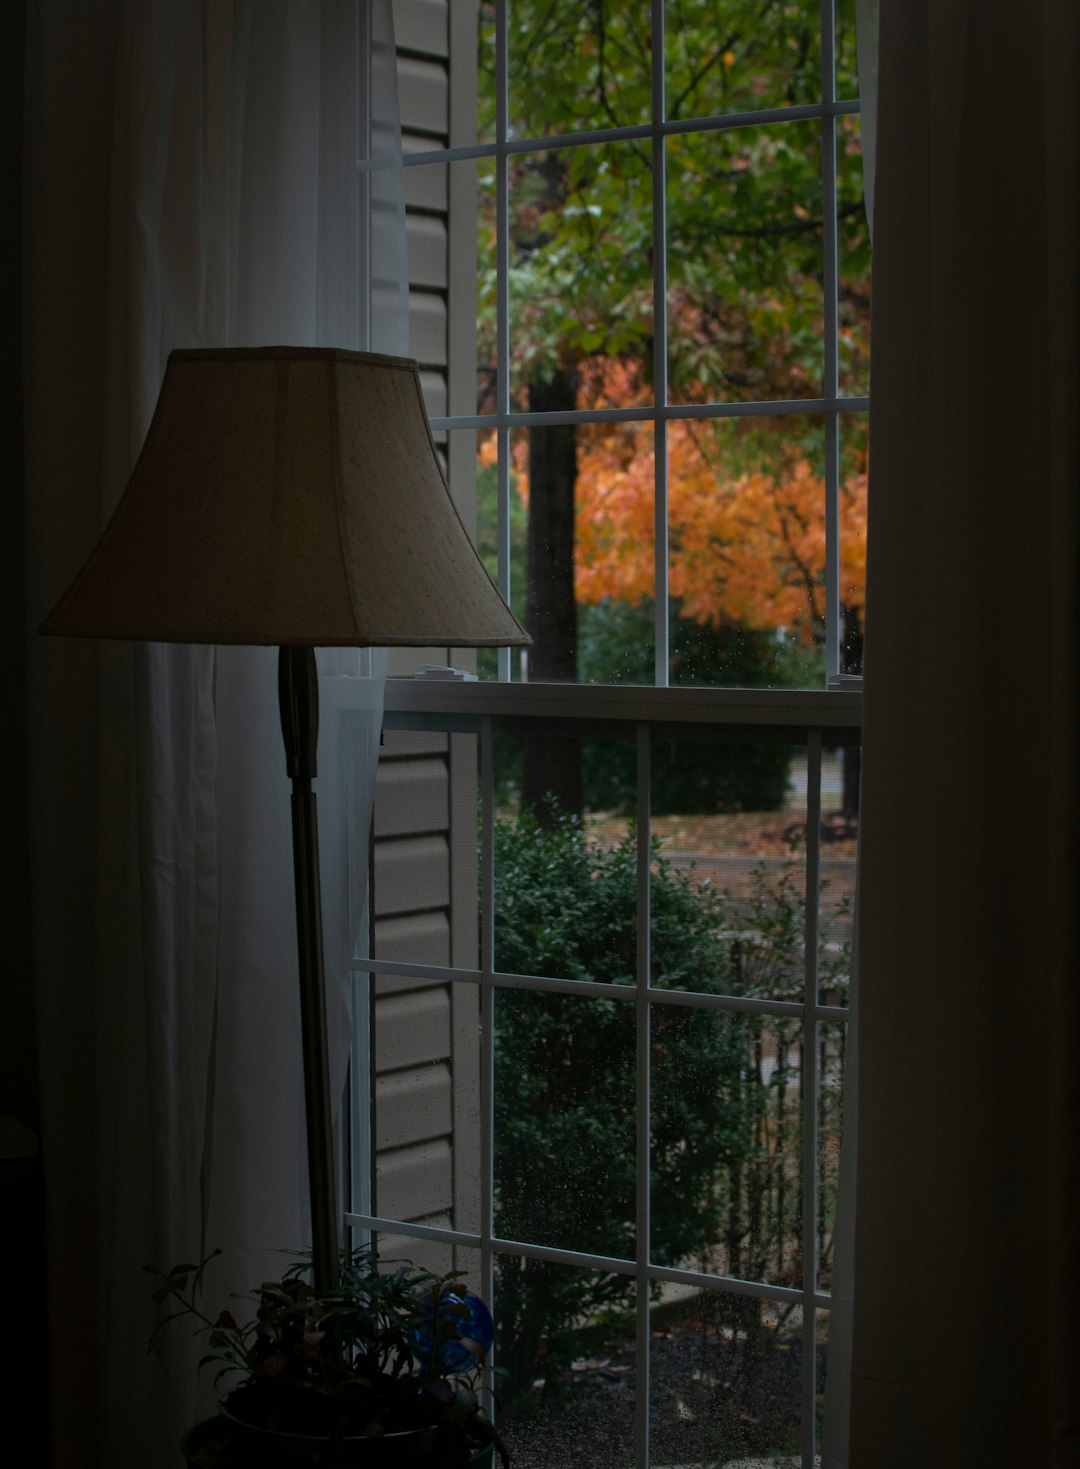
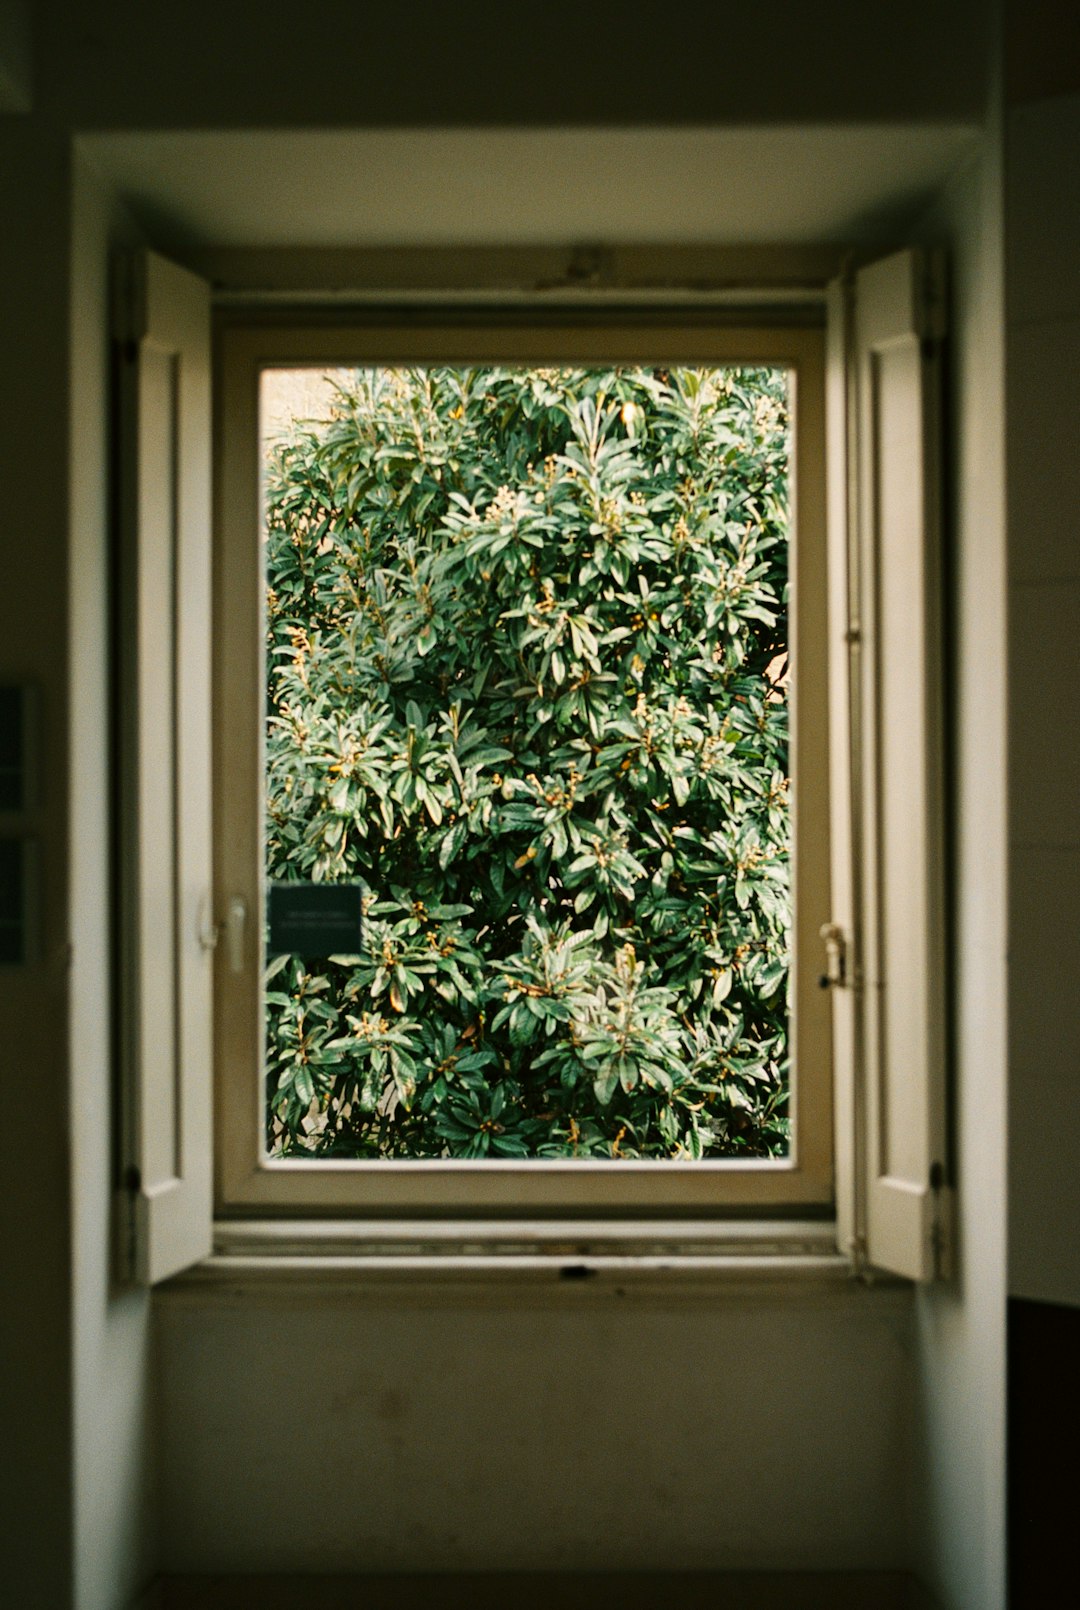
Product Spotlight: ShowMo WinEye – Your No-Drill Security Solution
What if you need robust outdoor security, but drilling holes isn’t an option, or you live in a rental property? This is where innovative solutions like the ShowMo WinEye truly shine. The ShowMo WinEye is a revolutionary window-mounted security camera designed for hassle-free, no-drill installation. It offers a unique approach to outdoor surveillance by discreetly mounting on the inside of your window, yet providing crystal-clear 4K night vision of the outside.
This camera is perfect for apartments, condos, or any homeowner who wants to avoid permanent modifications. Its unique design means you can easily move it between windows to focus on different areas of your property as needed. With 4K resolution and advanced night vision, you won’t miss a single detail, day or night. It’s an ideal choice when considering where to mount security camera without a complex installation process.
Learn more about the ShowMo WinEye and its innovative features:
FAQ: Security Camera Placement
Q1: How high should I mount my outdoor security camera?
A: For most outdoor cameras, a height of 8-10 feet (2.4-3 meters) is recommended. This provides a good viewing angle that captures faces and details, while also making it difficult for intruders to tamper with the camera. For broader views of areas like driveways, you might go as high as 10-12 feet.
Q2: What is the best angle for a security camera to catch faces?
A: To best catch faces, position the camera so it is angled slightly downwards towards the likely approach path. Avoid pointing it straight ahead, as this often results in only seeing the tops of heads. A slight downward angle ensures both the face and upper body are within view. Ensure the light source is not directly behind the subject, which can cause backlighting and obscure facial features.
Q3: Should I place cameras indoors or outdoors first?
A: It’s generally recommended to prioritize outdoor camera placement first, as these act as the primary deterrent and capture evidence before an intruder gains access. Cover all main entry points and vulnerable perimeter areas outside. Once your outdoor defenses are solid, then consider strategic indoor cameras to monitor common areas and interior entry points for a more comprehensive security system.
Conclusion
Effective security camera placement is the cornerstone of a truly secure home. By carefully assessing your property, understanding the unique needs of different areas, and considering both physical and technical aspects, you can create a surveillance system that provides maximum coverage and peace of mind. Remember, the goal is not just to record, but to deter and provide actionable intelligence if an incident occurs. Whether you’re opting for traditional wired installations or innovative, no-drill solutions like the ShowMo WinEye, investing time in strategic placement will significantly enhance your home’s safety. Follow this security camera placement guide to ensure you find the best angle for a security camera everywhere you need it and understand where to mount security camera for superior protection.